Sunday, October 30, 2011
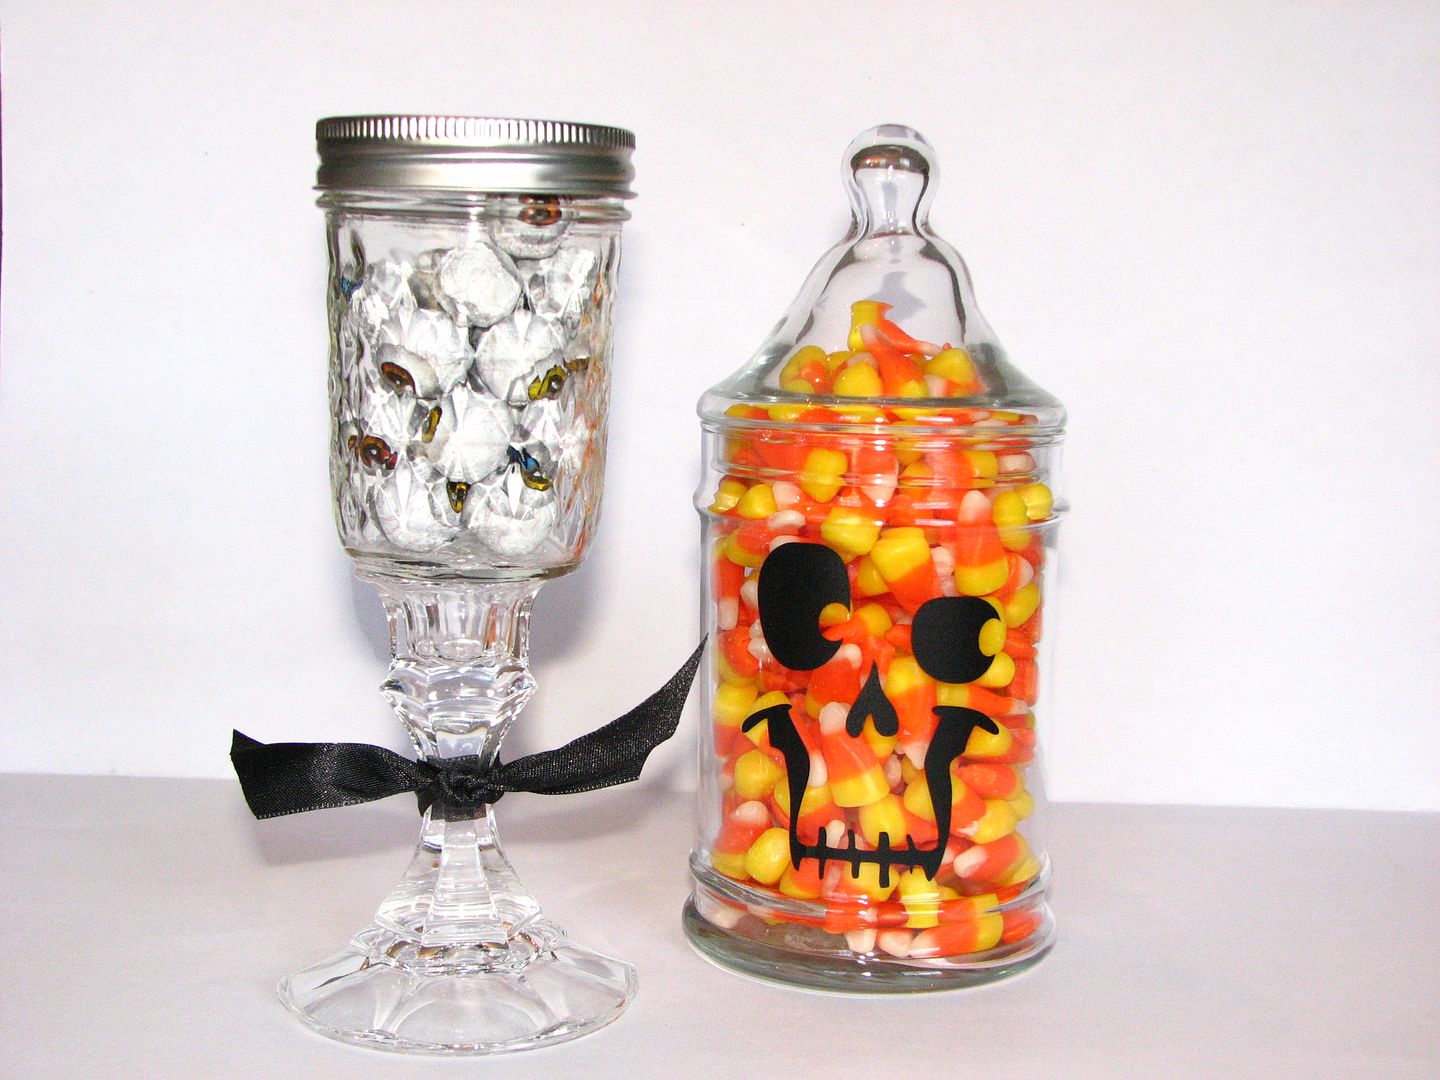
Candy Holders
Here are two candy holders I made for Halloween. The candy corn holder was quick and easy with an image from the Pumpkin Carvings cart cut from vinyl and then applied to the glass jar. The eyeball candy holder is a candlestick glued to a Mason Jelly Jar. Chris made everyone at the Woodstock SWARM one {aptly named a Redneck Wine Glass} and I've been scouring thrift stores for candlesticks ever since. The jelly jars came from Walmart.
Ribbon Bat
Here is an invitation (party info is on the back) for a Halloween party with a cute little ribbon bat. To make the bat, you punch 2 holes close together and thread the ribbon through them, cross it in the back and back through the holes to the front. Then just add some googly eyes!
Friday, October 28, 2011
Quick and Easy for Halloween
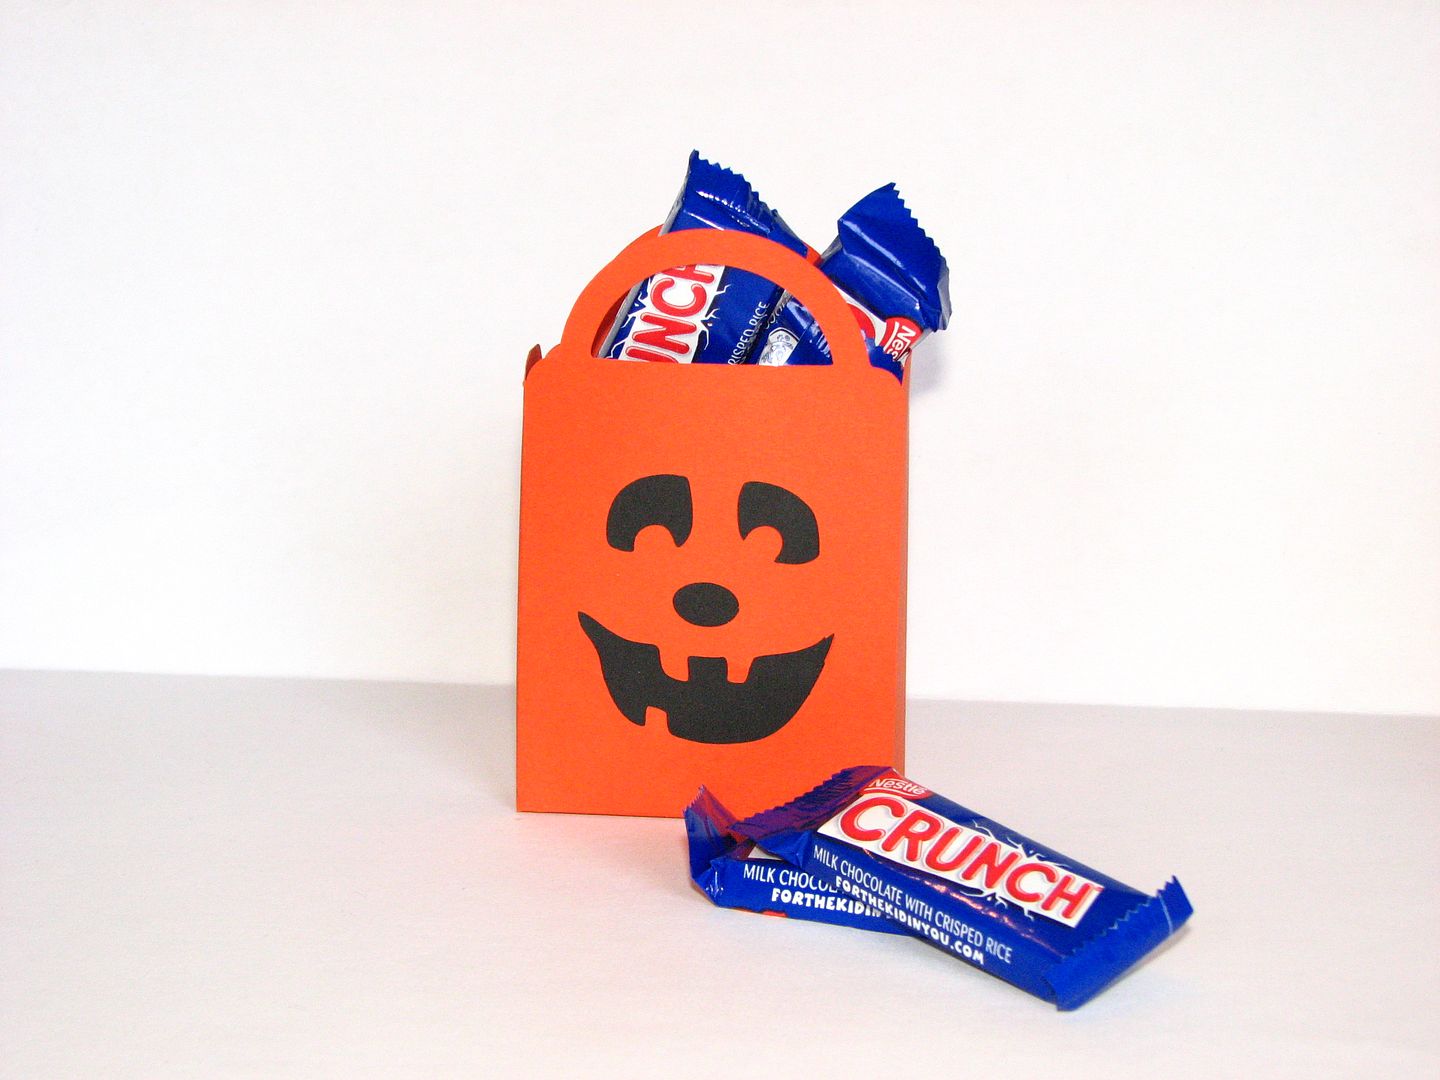
I used Plantin Schoolbook and Pumpkin Carvings to make the treat bag.
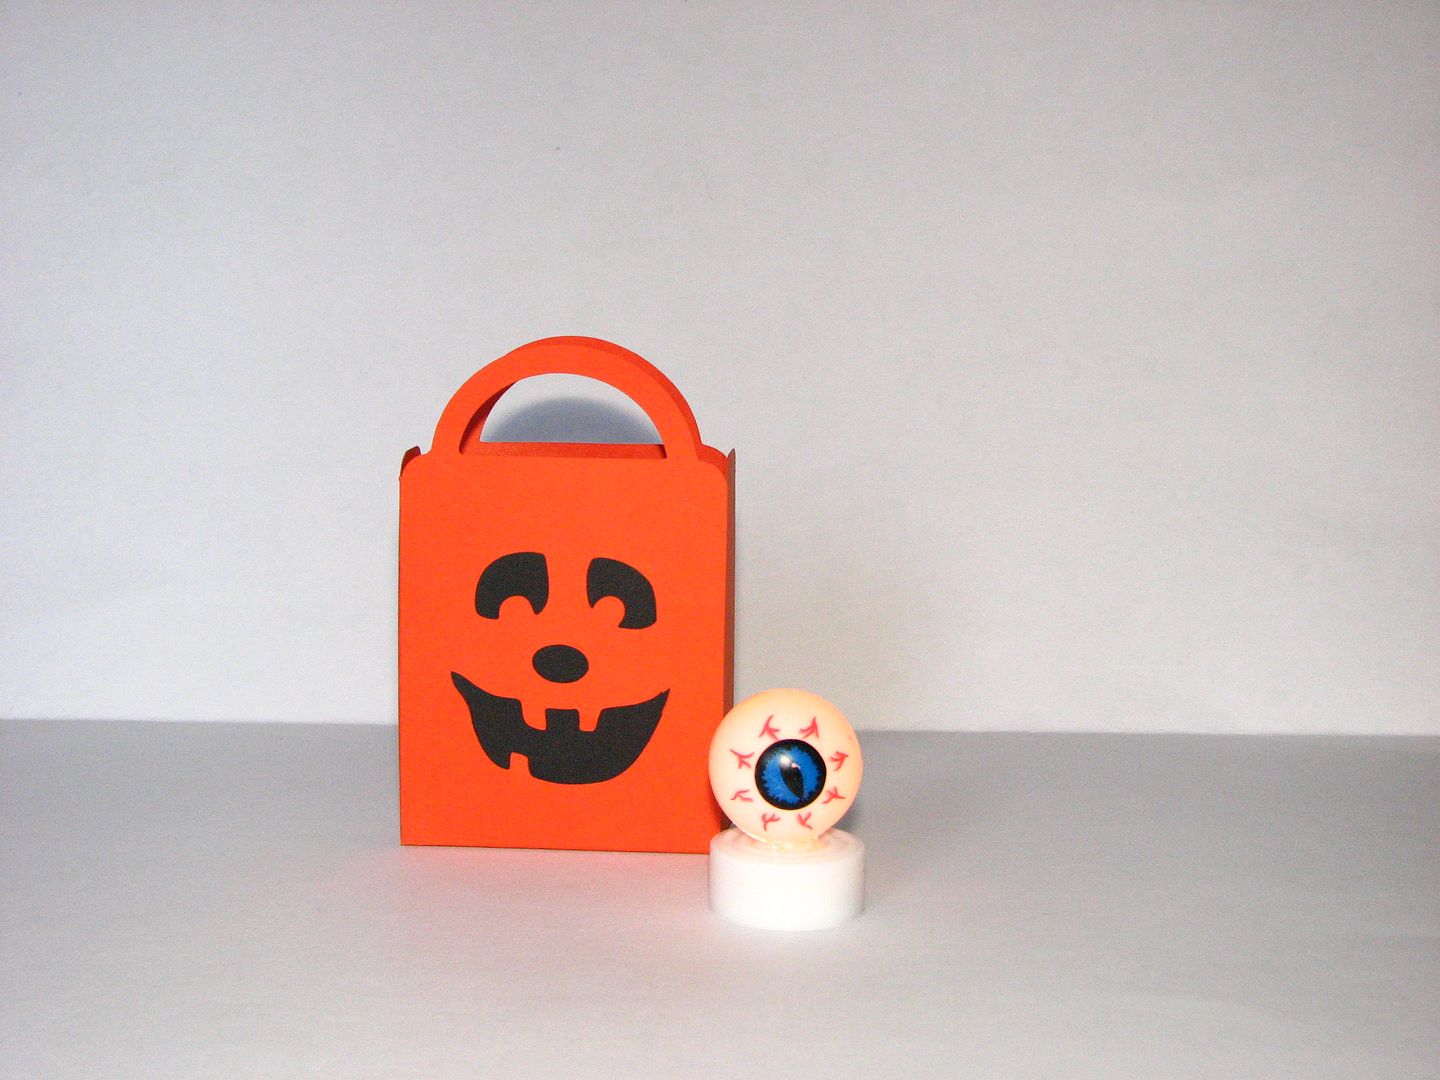
And it holds quit a bit of candy.
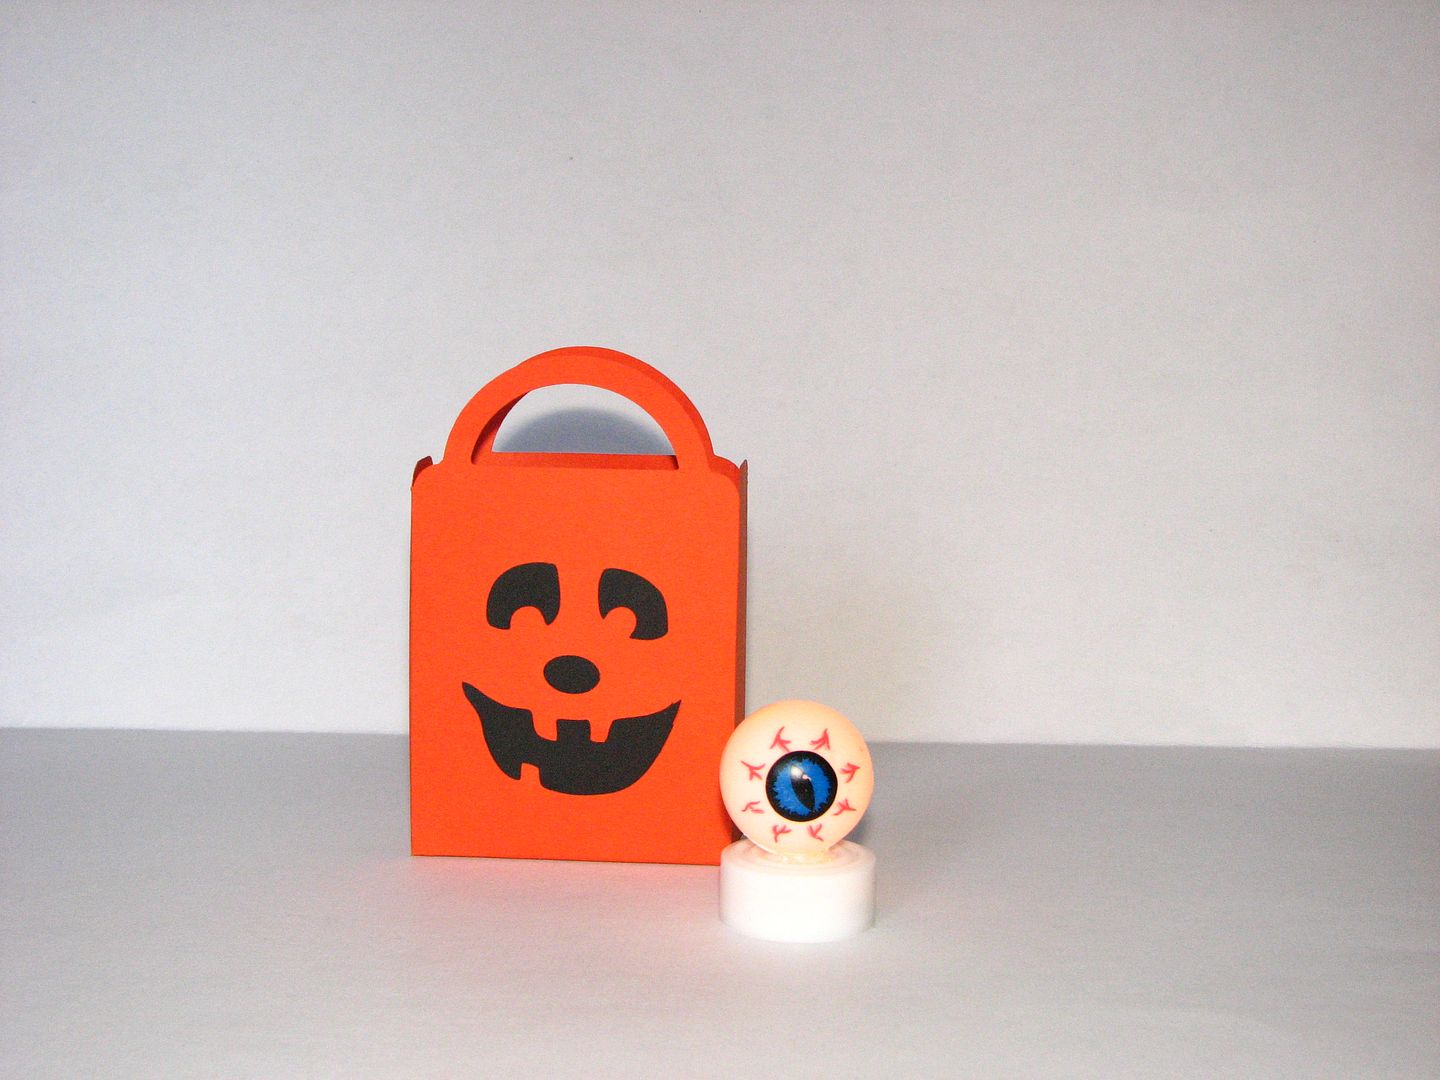
The lighted eyeball is a project from a back issue of Family Fun. It's a ping pong ball with a hole in the bottom and placed over a batter operated tea light. Add vinyl cutouts for the eyeball.
And it holds quit a bit of candy.
The lighted eyeball is a project from a back issue of Family Fun. It's a ping pong ball with a hole in the bottom and placed over a batter operated tea light. Add vinyl cutouts for the eyeball.
Thursday, October 27, 2011
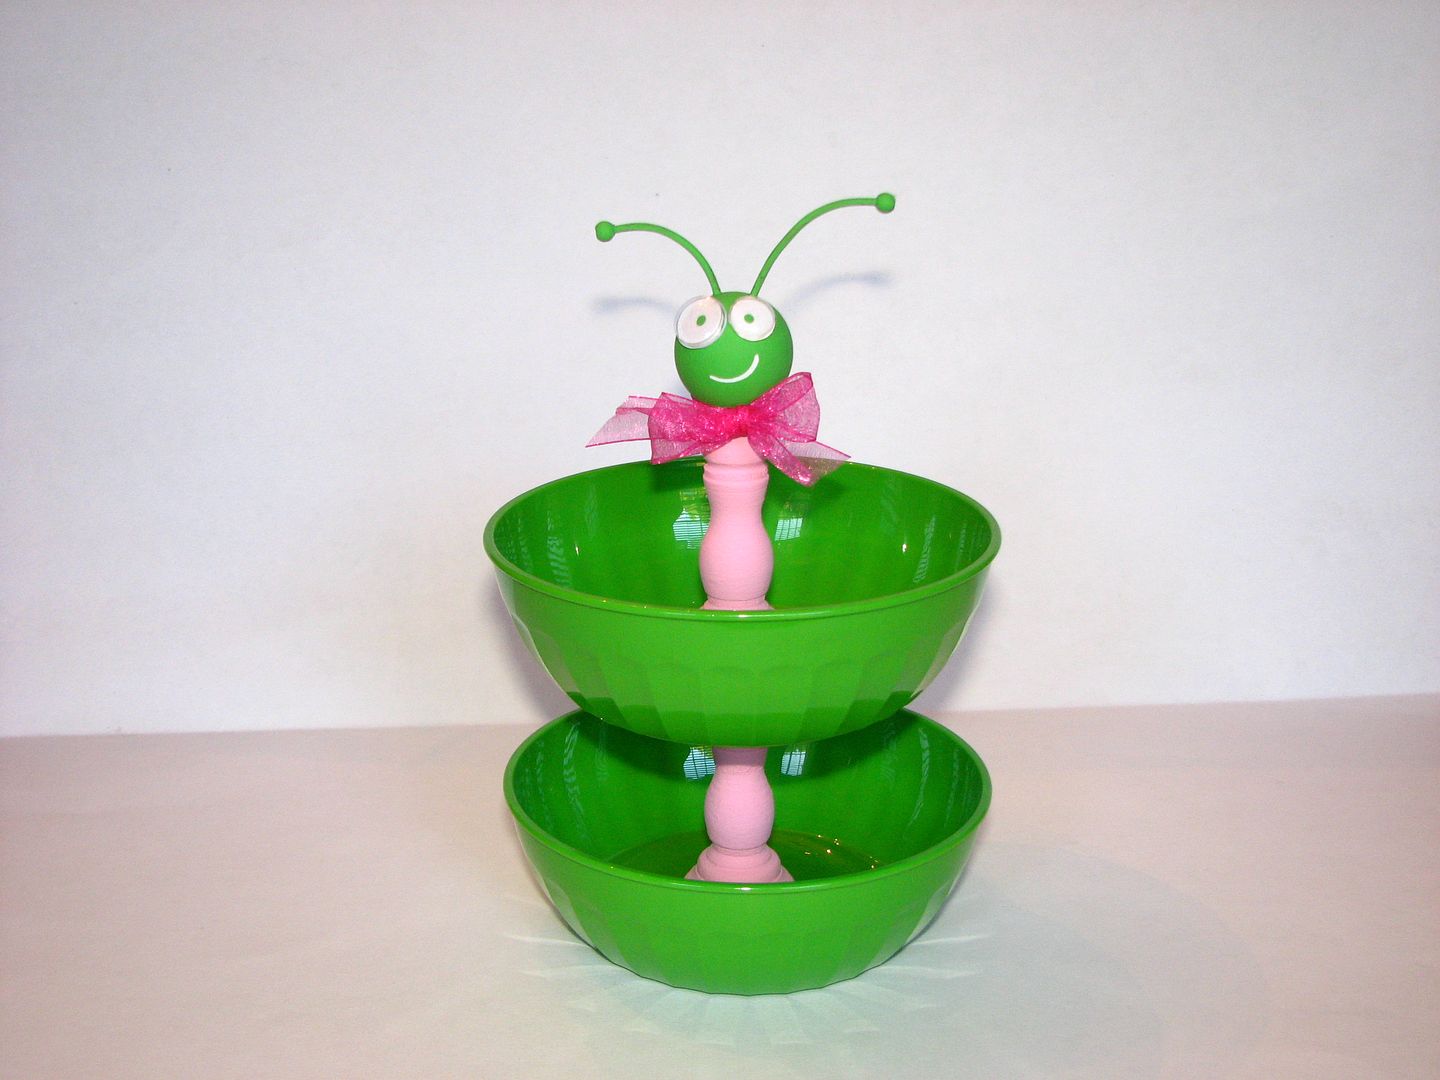
My Cricut "Bughead" Organizer
What to do with all those Cricut markers and extra blades? Keep them in a Cricut Bughead Organizer! This one is made from 2 bowls, 2 small wood candle holders, a wood bead, some wire, 2 small wood beads and some customized googly eyes!
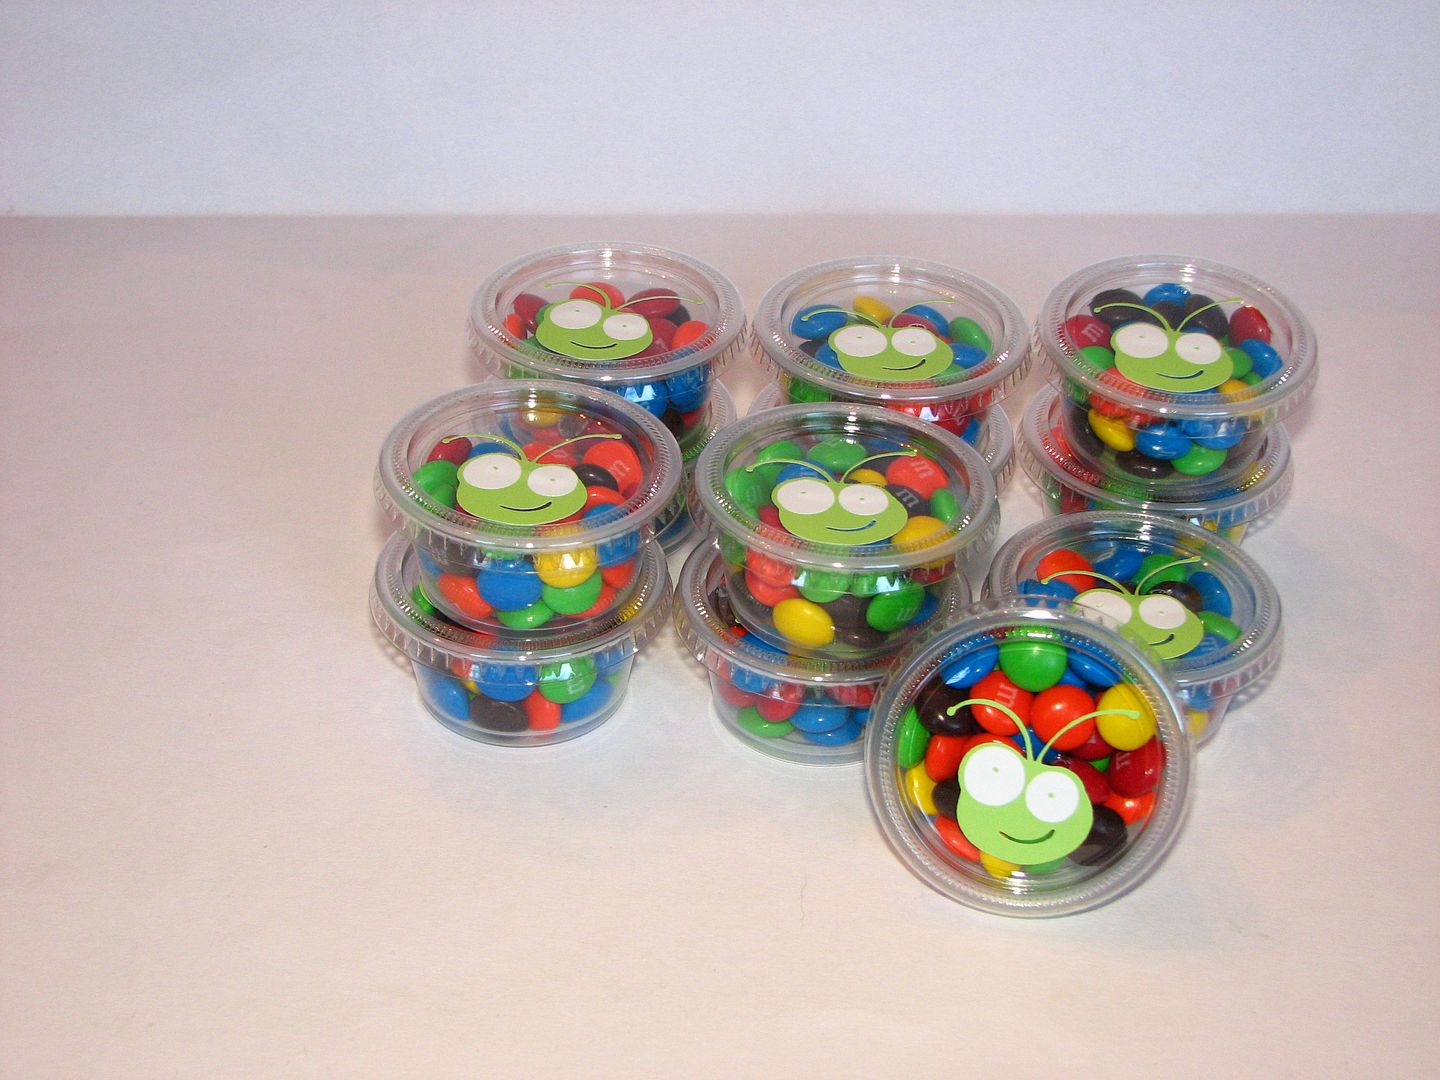
I made one for a Hostess Gift for my friend Stephanie when she hosted the most awesome Woodstock SWARM. I also made these little treat containers for all the Cricuteers who came over to my crop area on Saturday morning. They are those plastic condiment cups with bugheads cut from Cricut green vinyl and filled with M&Ms.
Pin It
I made one for a Hostess Gift for my friend Stephanie when she hosted the most awesome Woodstock SWARM. I also made these little treat containers for all the Cricuteers who came over to my crop area on Saturday morning. They are those plastic condiment cups with bugheads cut from Cricut green vinyl and filled with M&Ms.
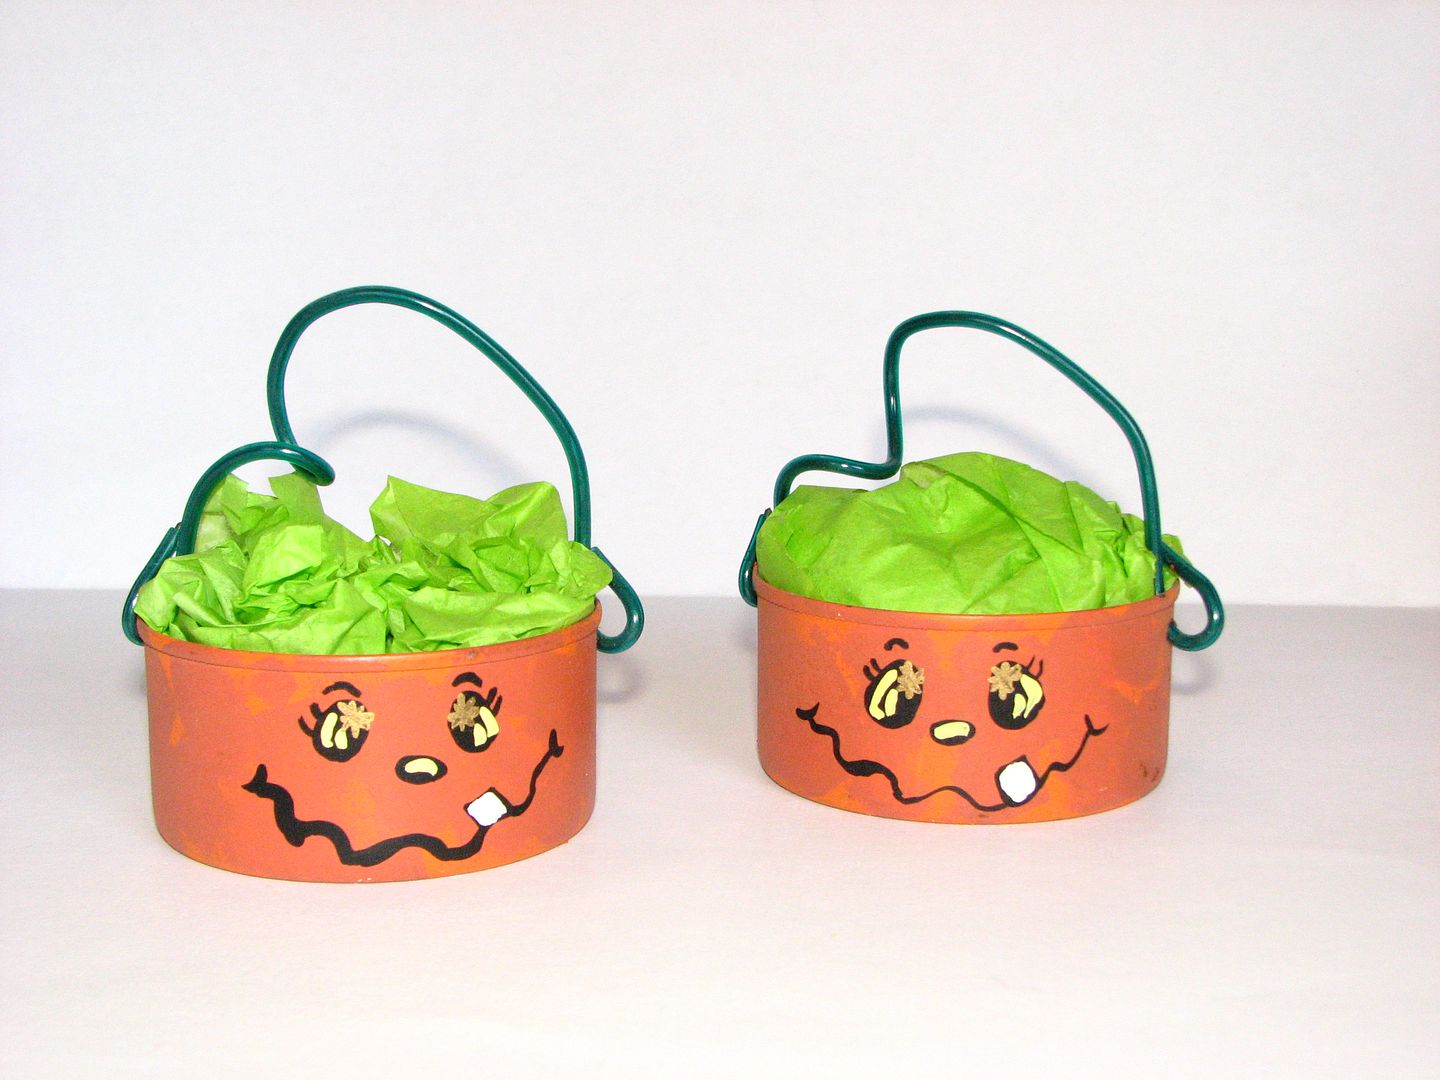
While looking through some old supplies for some wire for the bughead antenna , I came across these cans that I painted for a craft fair quite a few years ago. They are empty pineapple cans and I used acrylic craft paint. My father-in-law named them "Pump-Cans"!
Pin It
Witch Shoe
After seeing a witch shoe that Doxie Mel had posted for a challenge on the Cricut Circle blog, I knew I needed to make something similar for my daughter and her college roommates. So, using the Princess Party cart and Design Studio, I added some shapes from George and make the Princess shoe a Witch shoe.

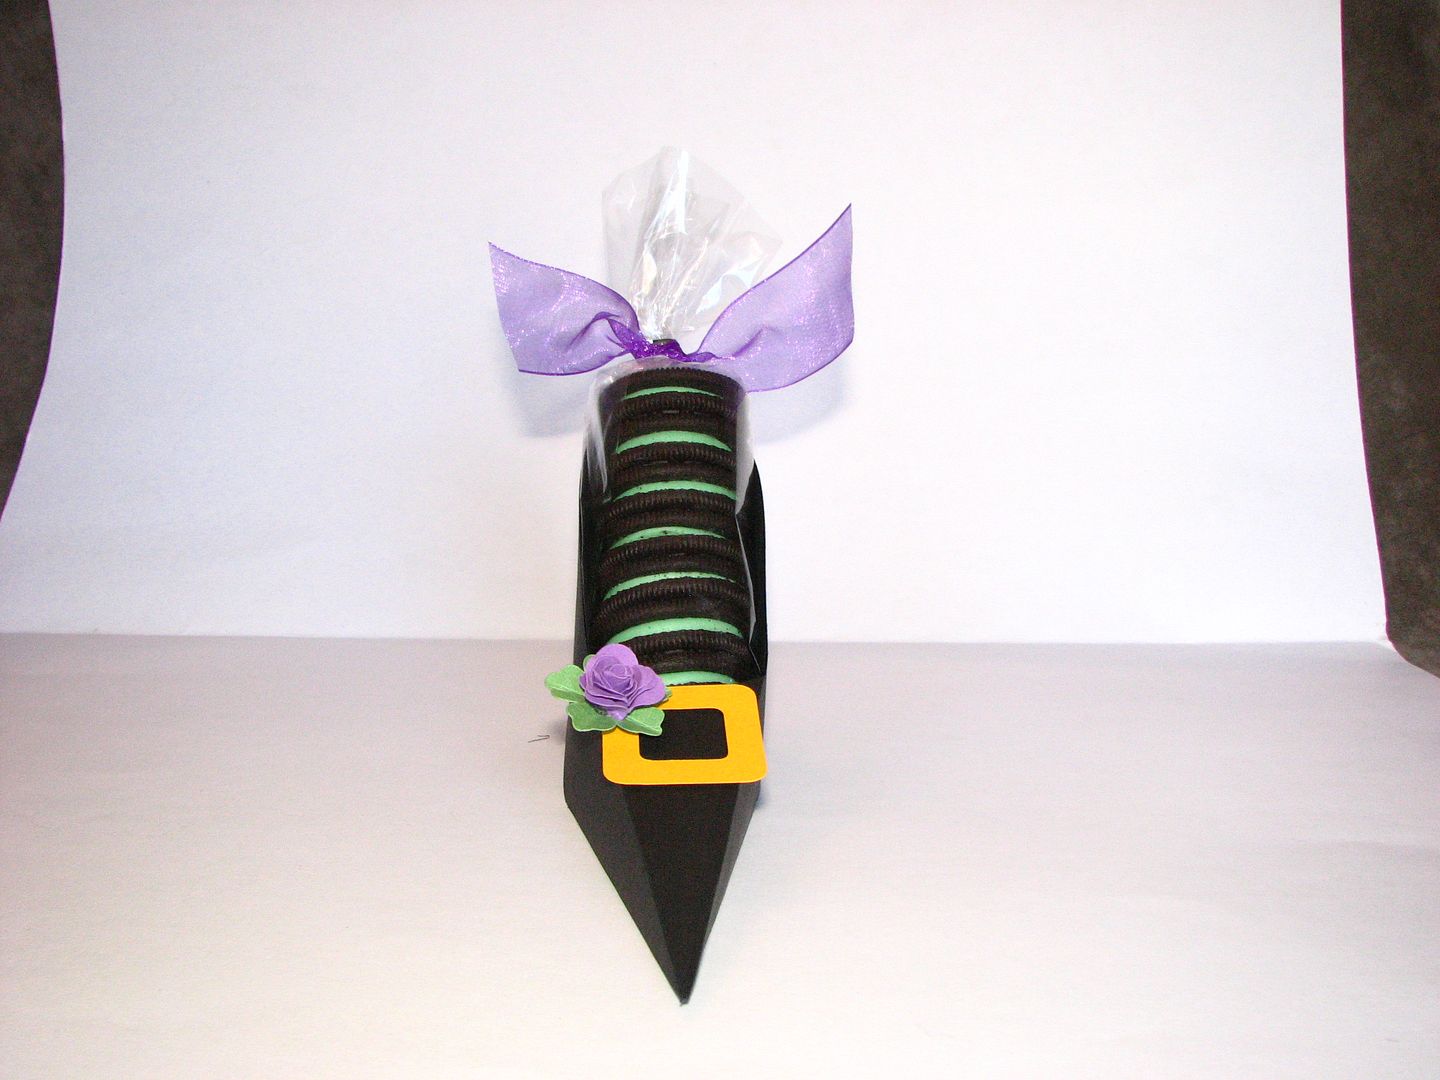
I used mint Oreos to fill them and needless to say, the my daughter loved them and can't wait to give them to her friends! Thanks Doxie Mel for the inspiration! :)
Pin It
I used mint Oreos to fill them and needless to say, the my daughter loved them and can't wait to give them to her friends! Thanks Doxie Mel for the inspiration! :)
Pin It
Coming out of Cybernation!
My poor, neglected blog is awakening! Although I haven't posted, I have been creating. So let's start by catching up!
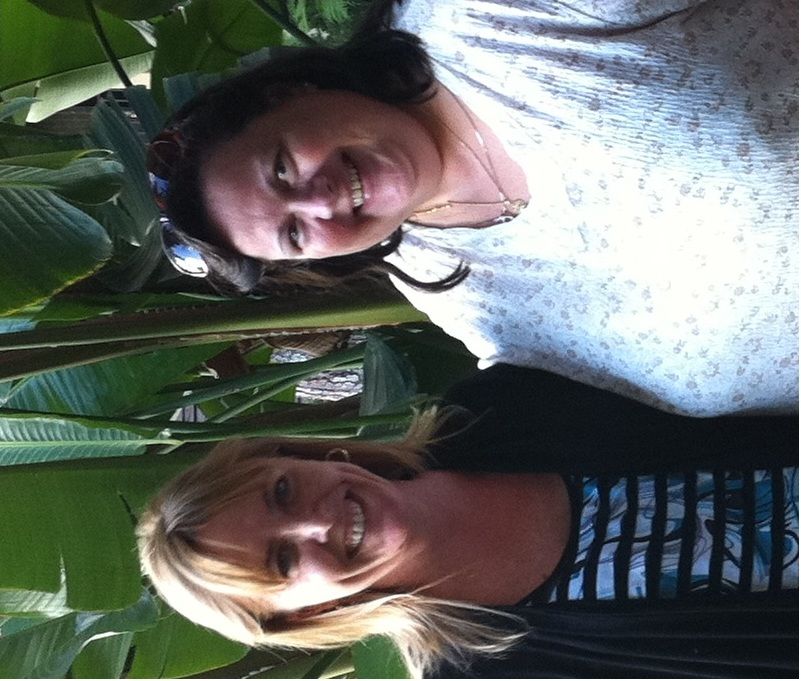
First, I took a trip to Orlando to meet a friend from the Cricut message board! Narelle and her family came to Orlando (from Australia) and I was so fortunate to be able to meet them. Narelle and her daughter and I spent a day shopping and chatting. They don't have Michael's Arts and Craft stores in Australia nor do they have Walmarts! I took them to both! :) Later that day, my sister and Narelle's husband and son joined us and we had dinner at the Rainforest Cafe in Downtown Disney. It was so much fun! Here's a picture of Narelle and me.
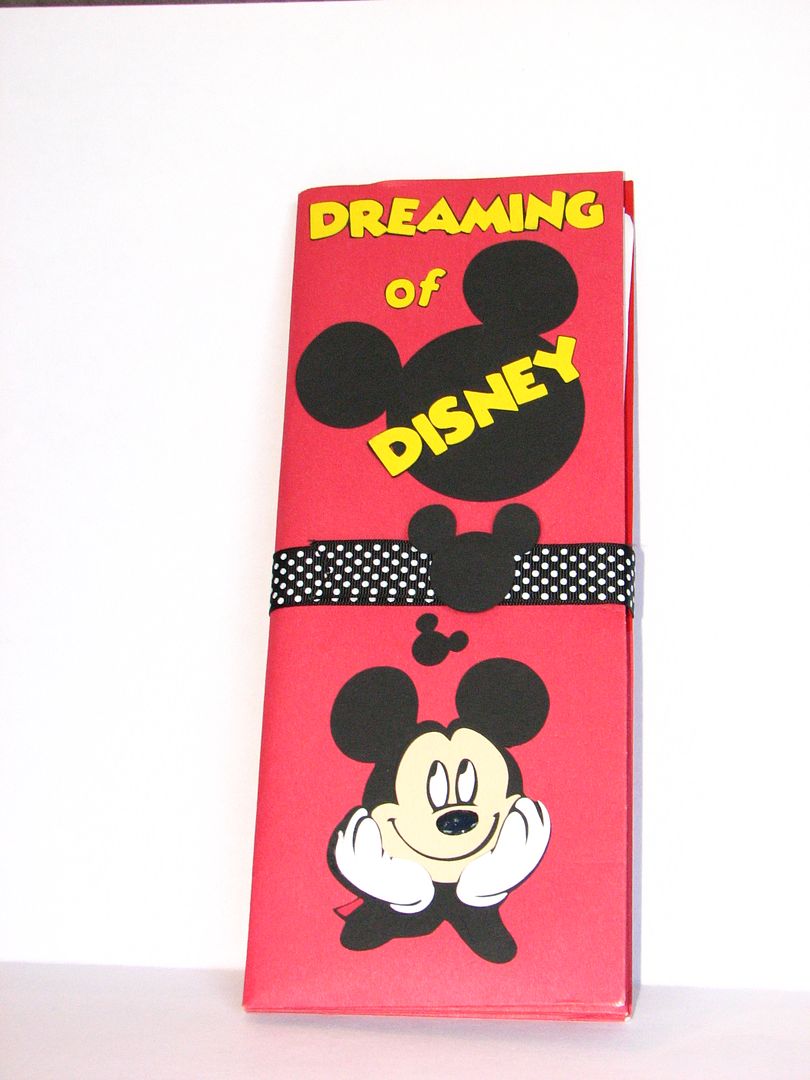
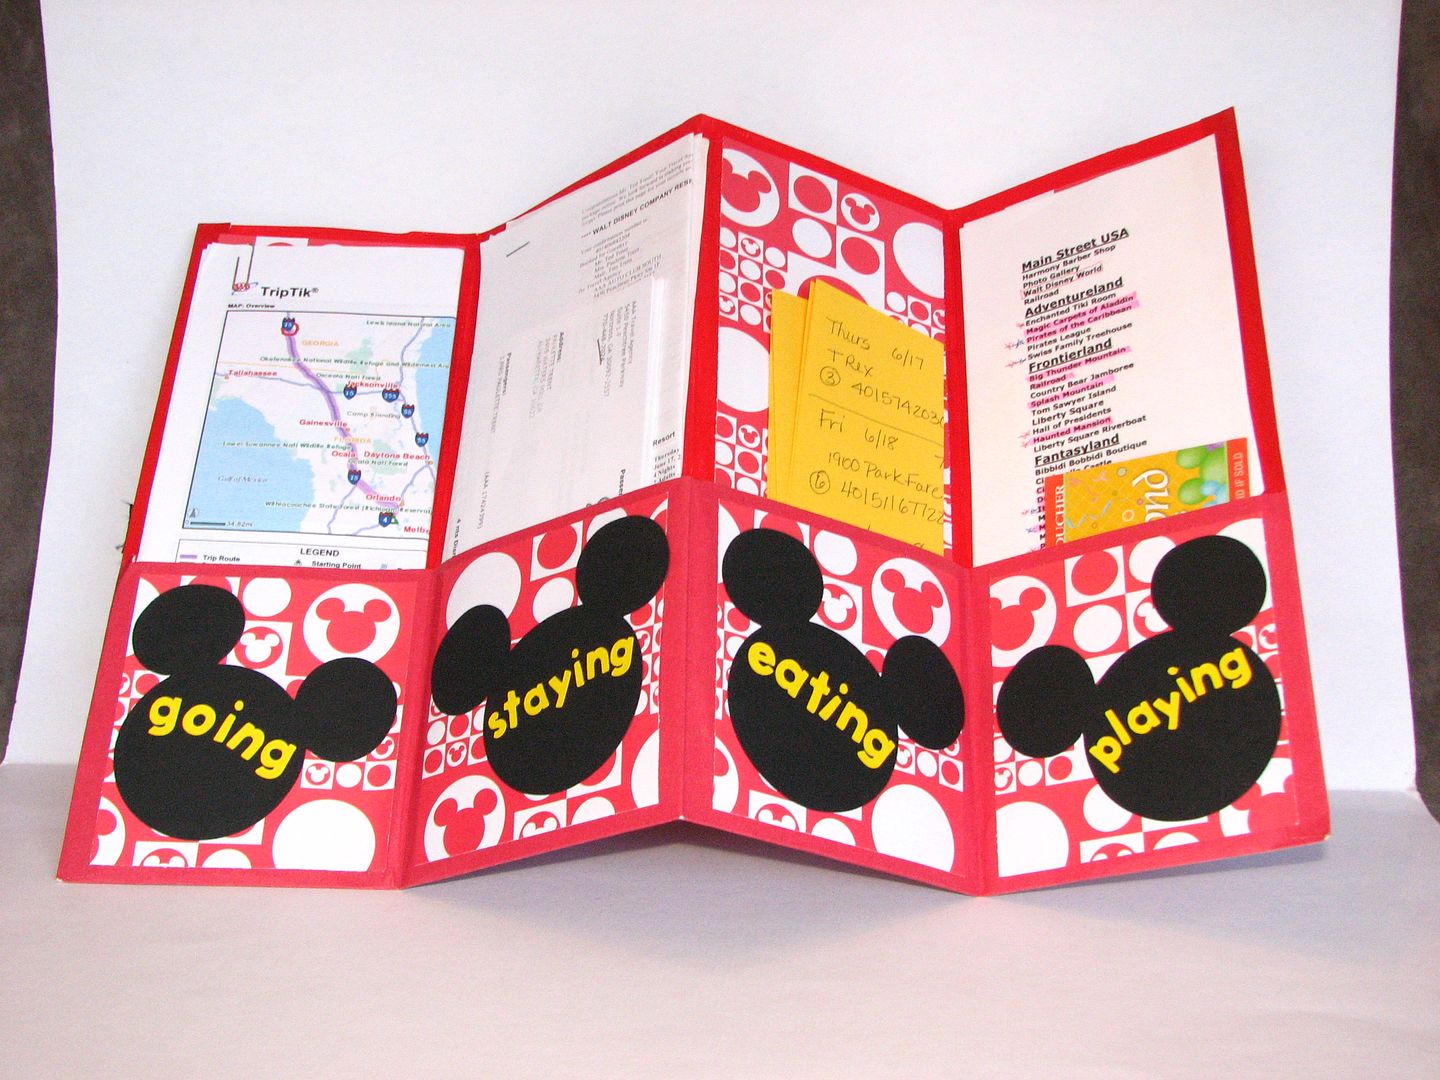
I had made a Disney themed travel planner using a 2-pocket folder and sent it over to her. I hope she found it useful as they had plane tickets and 3 different hotel reservation and bus tours and such to keep up with.
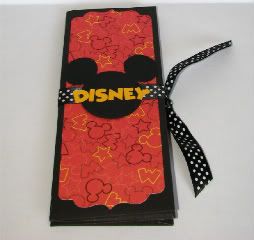

It was very similar to one I made for myself a few years ago. I had designed it using Design Studio but lost the file when my computer crashed. Fortunately, it was easy enough to re-create.
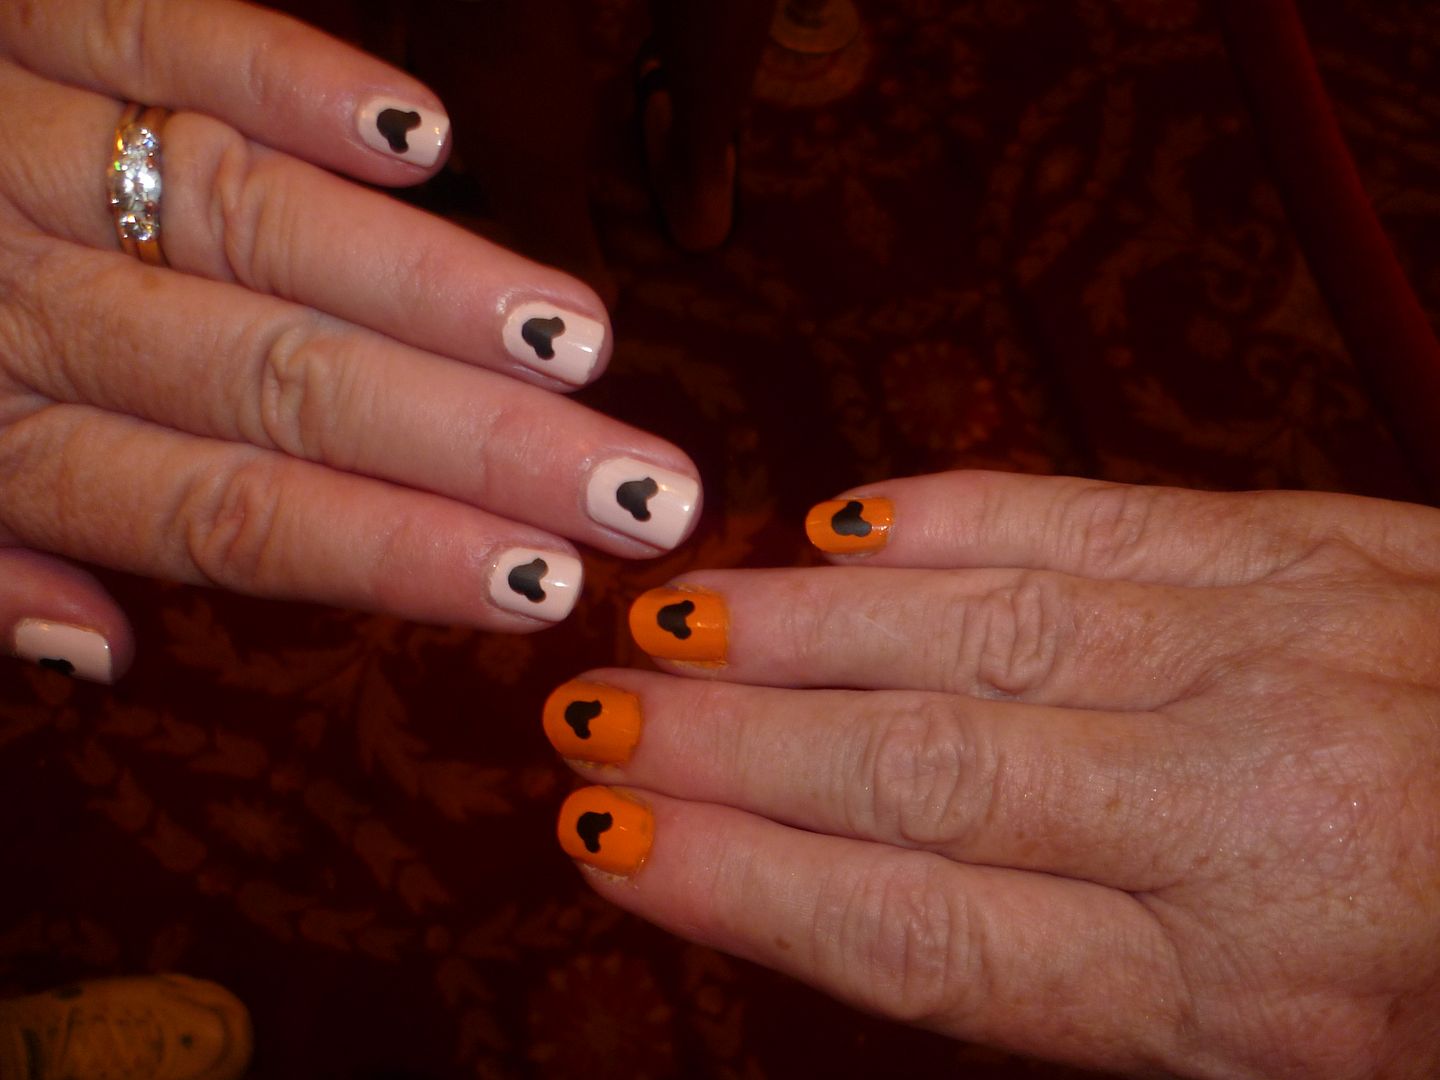
And, of course, you can't go to Orlando with going to visit Mickey Mouse. My sister and I went to Mickey's Not So Scary Halloween Party and I used my Cricut to cut little Mickey heads out of vinyl for our finger nails.
After dinner, I'll get some Halloween projects posted! So I hope you'll check back again! :)
First, I took a trip to Orlando to meet a friend from the Cricut message board! Narelle and her family came to Orlando (from Australia) and I was so fortunate to be able to meet them. Narelle and her daughter and I spent a day shopping and chatting. They don't have Michael's Arts and Craft stores in Australia nor do they have Walmarts! I took them to both! :) Later that day, my sister and Narelle's husband and son joined us and we had dinner at the Rainforest Cafe in Downtown Disney. It was so much fun! Here's a picture of Narelle and me.
I had made a Disney themed travel planner using a 2-pocket folder and sent it over to her. I hope she found it useful as they had plane tickets and 3 different hotel reservation and bus tours and such to keep up with.
It was very similar to one I made for myself a few years ago. I had designed it using Design Studio but lost the file when my computer crashed. Fortunately, it was easy enough to re-create.
And, of course, you can't go to Orlando with going to visit Mickey Mouse. My sister and I went to Mickey's Not So Scary Halloween Party and I used my Cricut to cut little Mickey heads out of vinyl for our finger nails.
After dinner, I'll get some Halloween projects posted! So I hope you'll check back again! :)
Subscribe to:
Posts (Atom)


