Welcome to the SweetSassyDiva Birthday Blog Hop! We are celebrating Bobbi Jo's (SweetSassyDiva) birthday this weekend March 10th and 11th. Each day will be a new project and be sure to check out the yummy blog candy giveaways!
I am so happy that you could join us for this super fun Blog Hop showcasing Birthday Themed fun! You will find an array of ideas along the hop and be sure to become a follower and leave some love aka comments along the way.
This is a TWO-Day hop so, be sure to catch both days for maximum celebration and ideas.
If you've hopped over from Jennifer at
http://scrapaholicjen.blogspot.com/, then you are in the right place. If you've just popped in to visit my blog and would like to join our SweetSassyDiva Birthday Blog hop, please start at the beginning with Bobbi Jo's blog
http://sweetsassydiva.com/ because...starting at the start is always SMART! :)
We have a WONDERFUL Grand Prize for one lucky hopper that is donated by Bobbi Jo! It is a cricut cartridge called Sophie. To be eligible, please visit each blog hop stop leaving a comment also, become a follower at
http://sweetsassydiva.com/ and be sure to leave a comment! One random winner will be chosen on Wednesday, March 14th, giving you plenty of time to finish the hop.
My project for the hop is something everyone receiving presents, birthday or otherwise, needs! It's a cute little purse Thank You card holder! It would make a great gift or make one and keep it for yourself!
I designed the folder in Cricut Craft Room using Craft Room Basics and George and Basic Shapes carts. The embossing is done with the Jamara Cuttlebug embossing folder. Inside the purse are pockets to hold the Thank You cards and envelopes. The handle is black beads strung on a thin wire and then attached to the purse folder. It is held closed with a velcro dot.
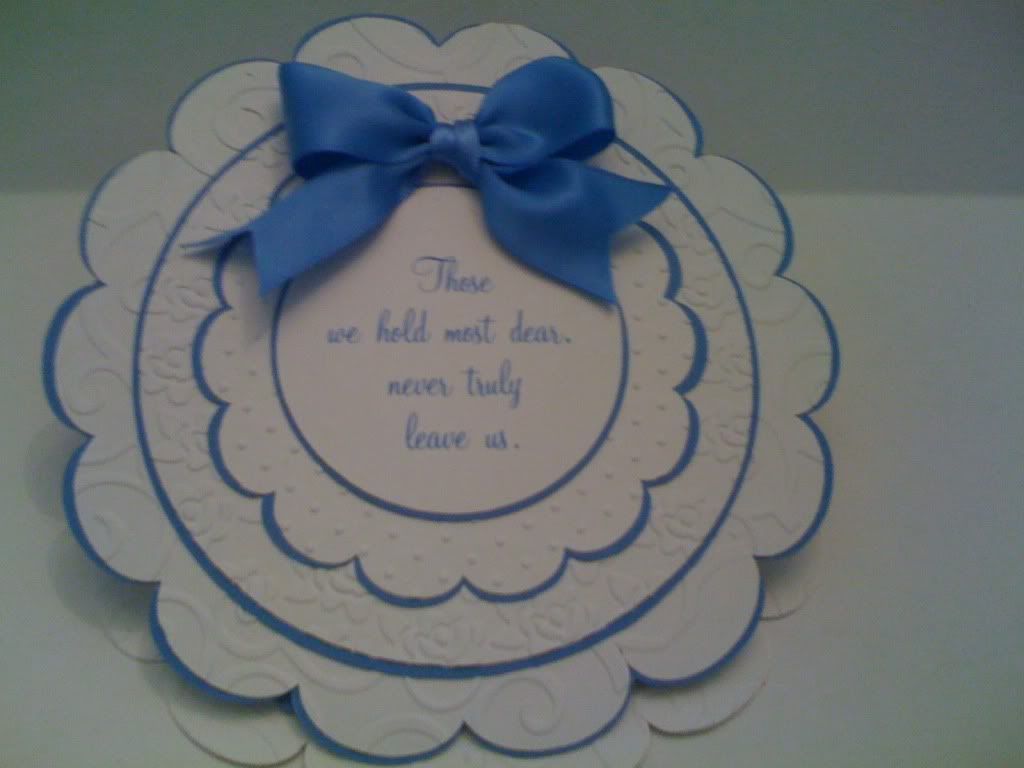
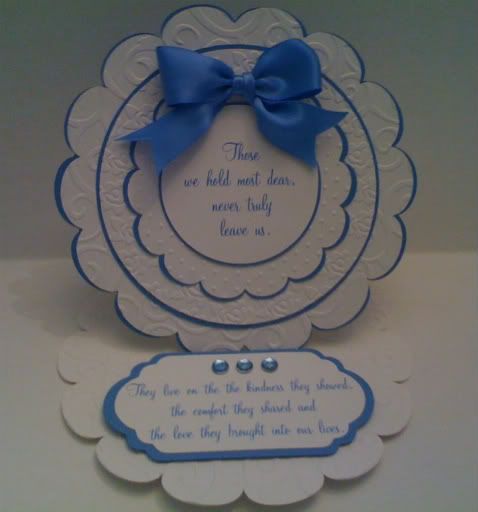
And, of course there are some matching Thank You cards! The sentiment was printed on my computer and then cut with my Cricut. The scallop circle is from Craft Room Basics. Both the scallop circle and the black strip are embossed with the Jamara Cuttlebug folder for a coordinated look.
Thank you for checking out my project. I hope that you will become a follower of
http://sweetsassydiva.com/ and my blog and leave us a comment.
Be sure to also check back tomorrow for some more celebration and more chances to win!


