The card base:
The base cuts in two pieces because the Explore can only cut 11.5 inches on the standard 12 x 12 mat. You could always use the longer 12 x 24 mat or make the design slightly smaller. This is what the two pieces will look like once you have cut and scored them.
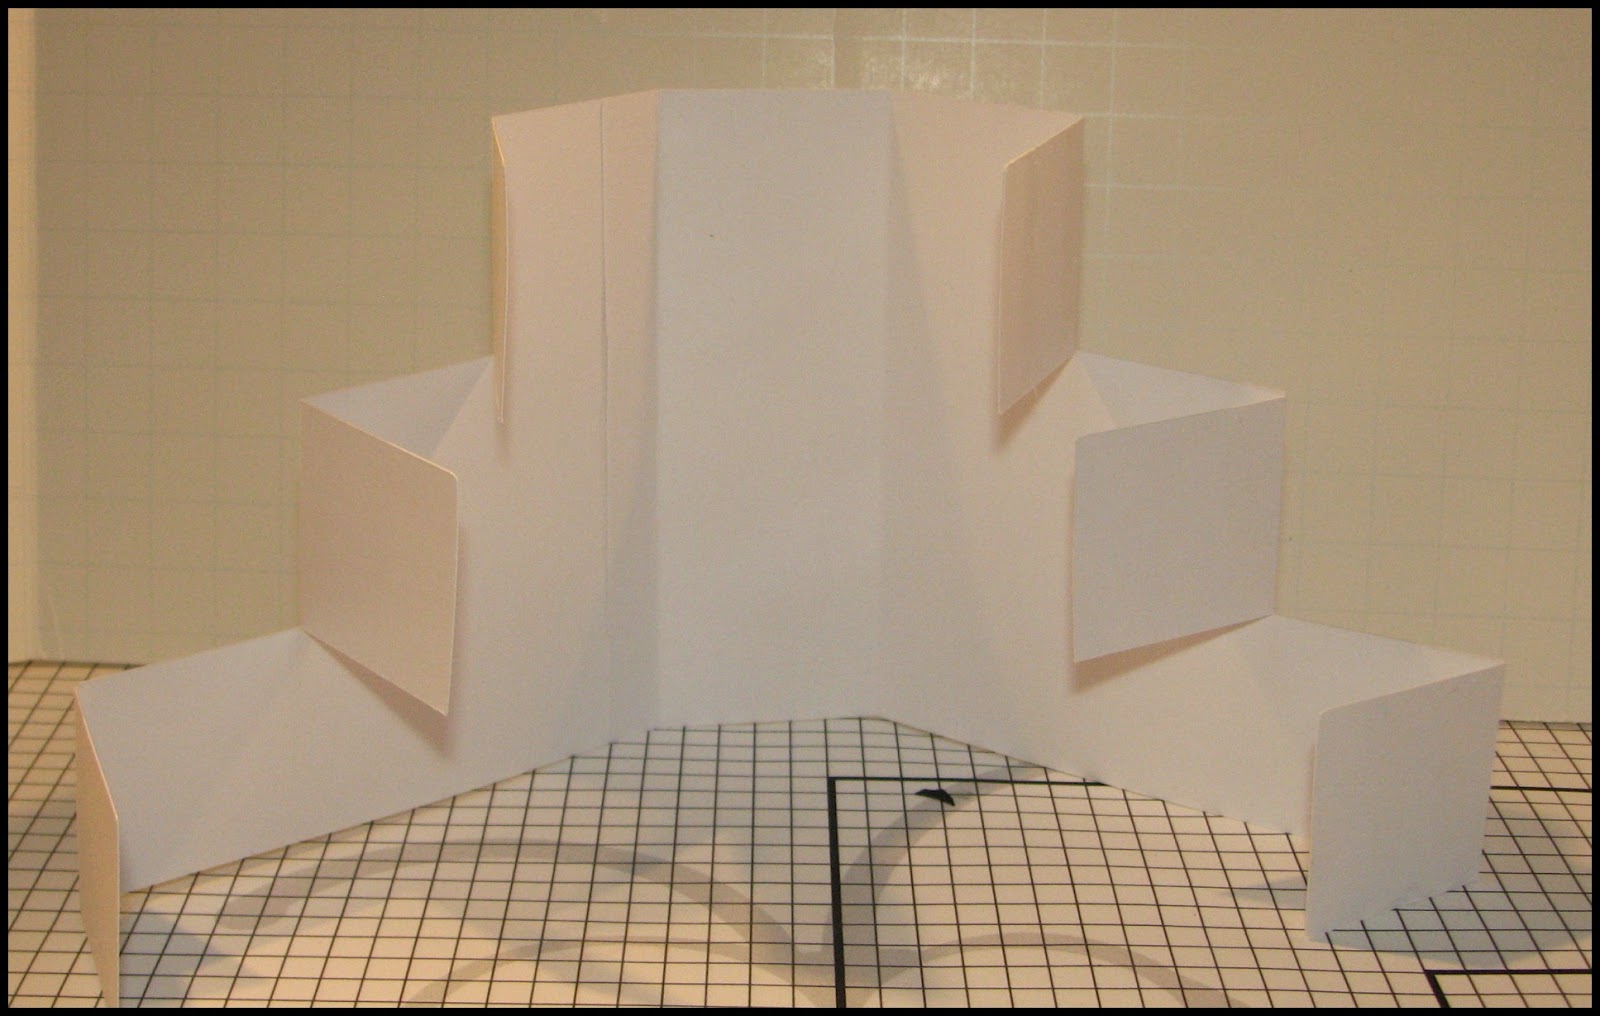
When you stand them up, you can see how they will go together. This is a good time to make sure you have your design {if you are using a patterned paper for the base} the way you want it to be facing.
Start by gluing the thin edge of the piece on the left to the inside of the piece on the right. This will make your "seam" hidden inside the card. Your card base should look like this. {If you click on the photo, it will enlarge and then you can easily see the "seam" on the left.}
Now, decide which way you want your card to face. Since you will be gluing the tops flaps of each "block", determining the direction you want your card to face will allow you to have a more finished look on the edges by gluing the flap that folds toward the back on top of the other flap.
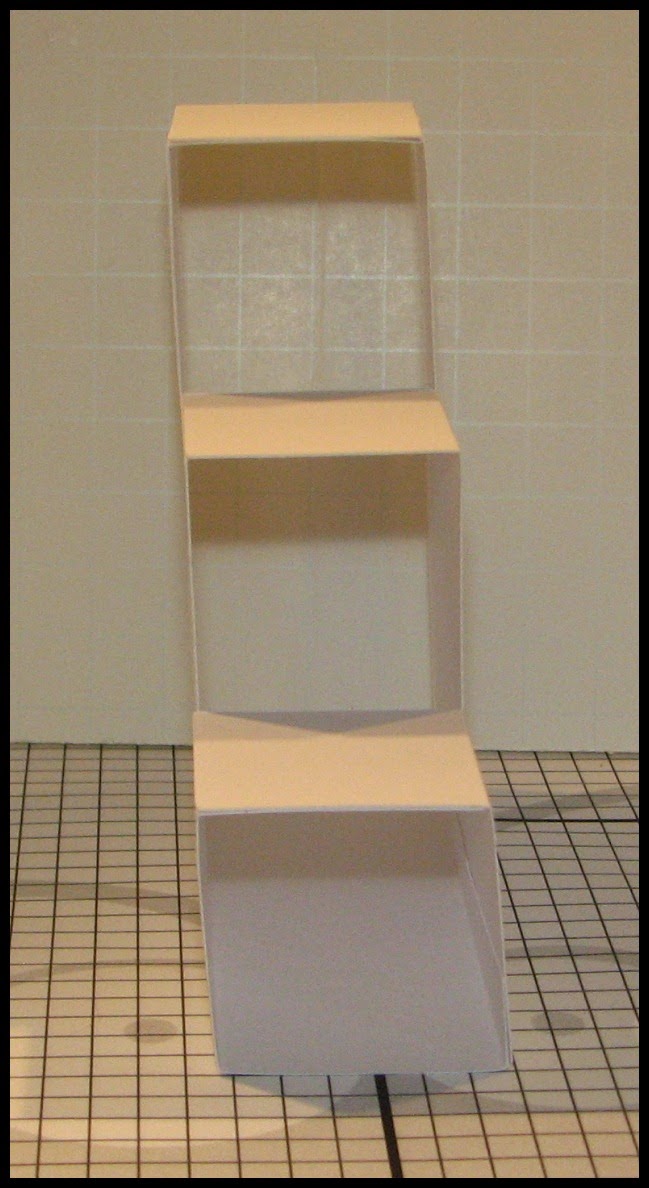
This is what the card will look like from the side.
And this is how the card "flattens" to fit inside your envelope.
The file also includes the squares to embellish the sides. This FREE file is available in the Cricut Lovers Guide to Design Space group on Facebook. Come join us and get this file as well as many others and lots of tips and tricks and inspiration!


Thank you! I'm away from my house and my explore 😭😭😭, just have my iPad w/me! I can't wait to make this! Thank you for all you do!
ReplyDeleteThank you so much for the file. Is a completed one posted somewhere?
ReplyDelete