Saturday, January 28, 2012

Mailbox Treat Holder and A Candy Tote

We have a group of talented crafters ready to share their projects celebrating love and Valentine's Day! Along the way, you may find some blog candy! So sit back and enjoy hopping through our blogs!

My project for today is the adorable Mailbox from ProvoCraft's new digital images titled 3D Mailboxes. It was designed to be large enough for regular sized Valentines, but I resized smaller it to be a  treat holder.


The mailbox design also has a separate box inside it that slides out the bottom to retrieve those Valentines or treats! How clever!


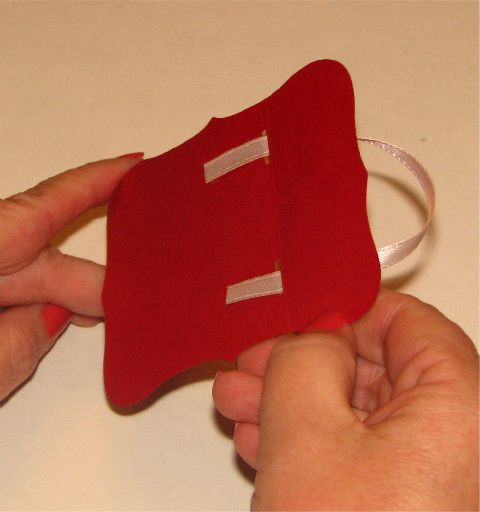
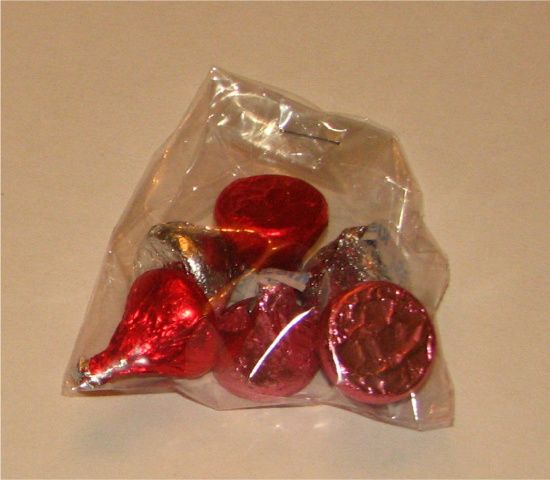
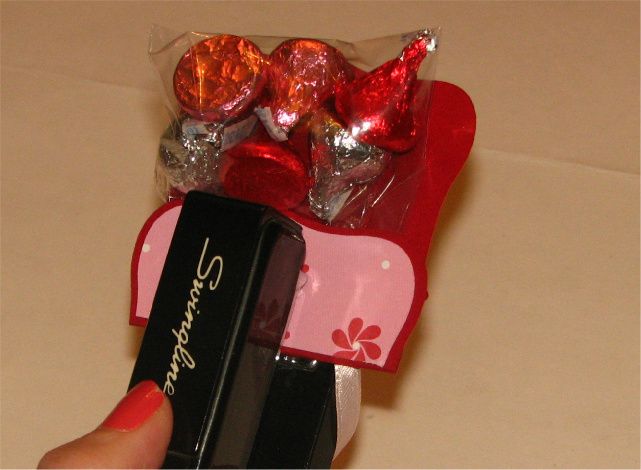
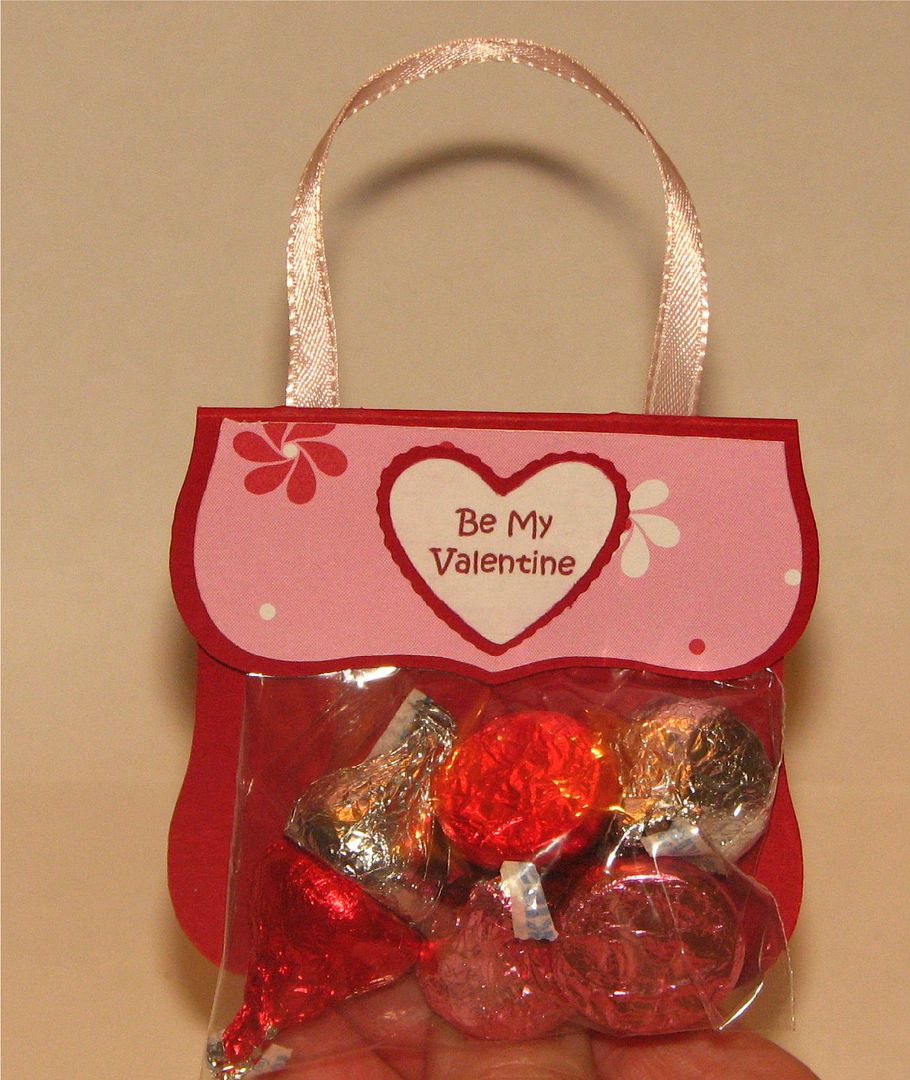
But wait. . .there's more! You didn't think I would only have a project cut straight from a cart, did you? I also have a cute Treat Tote! I saw the one Andrea made and just loved it.


I didn't have any small bottles like Andrea used, so I used the plastic from the clamshells of my Cricut cartridges and made little acetate boxes. I then sized the holder to fit my three little containers.


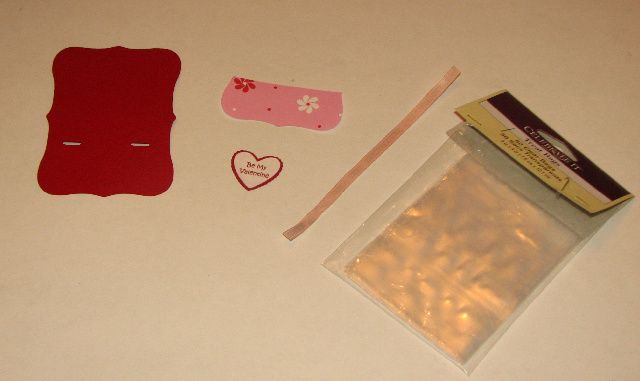
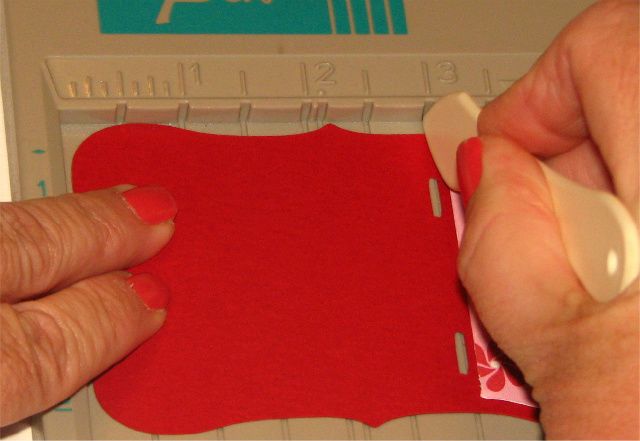
The Treat Holder was designed in CricutCraftRoom using CraftRoom Basics for the holder and label, Sweethearts for the Cupid and MS Seasonal Cake Art for the band around the containers.

I used the little hearts that were cut out making the band as petals for little flowers on the top of each container. I hope you enjoyed looking at my two projects!

{I will be posting a tutorial showing how I made my version of the Treat Tote soon!}

Before you go, I have blog candy~a brand new copy of the retired Cricut Wedding Solutions cartridge! Leave a comment and next Saturday, Feb 4th, I'll use random.org to pick a winner!

Thanks again for stopping by. Your next stop is Dana.


Wednesday, January 25, 2012

Candy Purse Tutorial


To make this candy purse, you will need the purse shape (red marquee shape, I designed this in CCR using CraftRoom Basics so the holes for the ribbon are cut with the shape), the layer (pink flower print), a little embellishment (the heart), 6 inches of 1/4 inch wide ribbon, a lollipop bag and candy.


Glue the layer onto the purse shape and score just along the right side of the rectangles.

Add a small line of double stick tape below the rectangles.

Thread the ribbon through one slot and press it into the tape. Then repeat for the other side.

Put your candy in the lollipop bag and fold the sides in so it's smaller at the top and fold the top down and staple closed.

Place the candy bag on the purse shape and fold the flap over and staple through all layers.

Add your embellishment to cover the staple on the front and you're done!

If you'd like the .ccr file for this project, leave me a comment with your email address and I'll send it to you! :)


Sunday, January 22, 2012

Candy Purses

It's always so much fun to get together with Cricut friends and spend the day scrapping and chatting and laughing! Here are the cute little Candy Purses I made for the attendees at our SWARM.


I used the marquee shape from the Accent Essentials cart and added two little rectangles to where I wanted the ribbon to thread through using Cricut Craft Room. I also sized the layer for the flap in CCR and quickly cut and assembled 20 little purses.

Friday, January 13, 2012

Desktop Organizer and Perpetual Calendar


The Circle Magazine is sponsoring a contest for projects using Cricut Craft Room! As much as I have loved Design Studio, I have found I love designing in CCR so much more. If you haven't given CCR a try, I hope you will. It's a free online design program from ProvoCraft and you can download it from cricut.com. Plus, there is also a free set of images for anyone to use and cut from in CCR titled Craft Room Basics. I designed all of this project using Craft Room Basics! That means, if you have a Cricut and a computer with internet access, you can re-create this project! {Because this is my entry into the Contest, I cannot share the file at this time.}

Anyone that knows me or has looked around on my blog, probably knew my project would involve boxes. The Desktop Organizer and Perpetual Calendar is actually made up of lots of boxes. The bottom box slides out and reveals two compartments for desk supplies.


The middle two cubes have the numbers needed to display every day of the month and those cubes sit on a little tray so they can easily slide out for date changes.


The month(s) are attached to the top box with velcro and the top box opens to reveal storage for the additional month tags as well as a little "pick me up" treat!


On the left side is a box for holding note paper.

And on the right is a two compartment box for holding pens and pencils.

And that's my Desktop Organizer and Perpetual Calendar! Thanks for stopping by!  :)

Thursday, January 12, 2012

Hey. . .It's me!!!


Hi everyone! So glad to be back to crafting! Our holidays were super busy {just like most of you} because we also had my daughter's college graduation ceremony and celebrations between Thanksgiving and Christmas! And even though I didn't get to craft as much as I wanted, it was all so much fun and very exciting! I hope your holidays were happy ones!

I think I'll finish off January with some projects I made before I started my blog and throw in a few projects from Christmas. But later today, I'll be posting a project I've been working on for the Circle Magazine Challenge. I very pleased with the way this project is coming together!

So check back later for a new project and thanks for stopping in!  :)