
Surprise! I made a project for a little boy! Usually my projects are geared toward girls. This project could easily be changed to a girl project or a unisex project just by changing the images and paper used.
There are 18 cards and two of each picture so you can use them as a matching game or a memory game. The images are from Boys Will Be Boys. I used a rounded corner square from Craft Room Basics, sized it to 2.5 x 2.5 inches and set the color to white. I then sized the cars and trucks and rocket and helicopter to fit inside the square. I selected the squares and images {6 of them at a time} and Flatten them. I pressed GO, then Print and Continue and printed the page on my home printer. I then loaded that page onto my mat and into my Explore and it cut the cards. I used a patterned cardstock with white on the back side. That is the side I printed the cards on. Easy peasy!
Of course, I wanted a box for the cards. And I wanted to personalize it. And I wanted it to coordinate with the cards. They say you need to print on white paper only but back when I had a different cutter that had the Print and Cut option, I learned a little trick. Use white stickers where the registration marks will print! Hoping it would work with the Explore, I dug out some stickers.
I used these Avery 1 inch x 3 inch stickers and cut them in half and placed them on my pattern paper before loading it into my printer. On the Preview Mat, you will see where the registration marks will print for your image. I set up my design using the crayon box from Tags, Bags, Boxes and More and the marker font from the Pooh and Friends cart. I set the box color to light blue and the font to red. I loaded the paper in the printer and. . .

Voilà! My paper printed with the image and registration marks.

And it cut!

But, I decided I didn't like the red font, nor did I like the additional layer of blue. I was going for a slight difference and it was too dark for my taste. So I changed the box color to white, place stickers on another piece of patterned paper and Printed and Cut again. You can see the difference below.
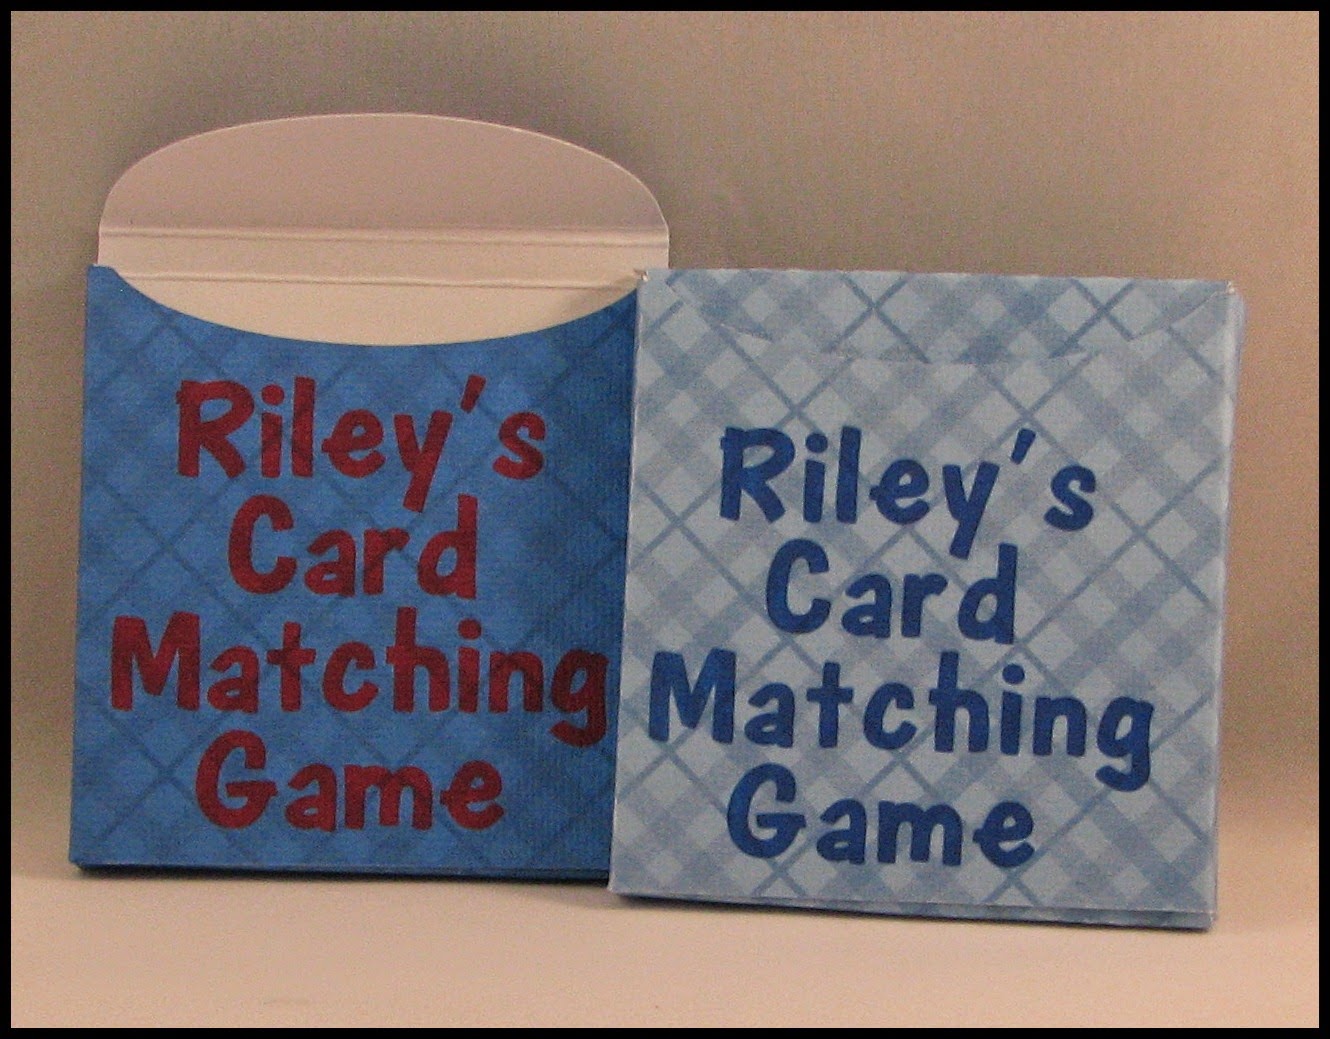
I'm pleased with the second box {even though the text is slightly off center and that's because I only "eyeballed" the placement. I hope there is a center or align feature in future updates.}.


Great project Paulette! Isn't it great to "step outside the box" once in awhile? Looks like you had fun with this and I'm sure Riley will too!
ReplyDeleteAwesome Job on this Game!
ReplyDeleteLooking forward to trying it out myself!
Glad to see the stickers in the corners method works as well with the Explore as with the Silh. Great way to stretch your options.
ReplyDeleteTerrific project!
ReplyDeleteWhat a great project! I can't wait to try these for my daughter and nephew and niece! Thanks so much for sharing!
ReplyDeleteOh my gosh! This is such a wonderful project! Hoping I can get smart on my machine to try something like this! TFS!
ReplyDeleteWhat an ingenious way to trick the Explore into thinking it's white paper. TFS! :-)
ReplyDelete