Showing posts with label Halloween. Show all posts

Wednesday, October 31, 2012

Easy Peasy Bat Candy Bar Wrapper


It really is easy peasy since the Cricut cart Artiste has a bat card on it. I wanted the bat wings to be long enough to cover the candy bar, so I used CCR and welded 3 of the card images together to get the length I needed. After that, score and fold around the candy bar!

I've hand cut these before and used google eyes but since these were for an "older" audience, I went with red, beady eyes. I punched small circles and then topped them with a blob of Dimensional Magic by Mod Podge.


The tag was printed on my home printer and used to hold the wings together. Here's a screenshot from CCR showing how I placed the images to weld them to be long enough to wrap around the Hershey bar.


 Happy Halloween!

Friday, October 26, 2012

Halloween Cat Treat Box


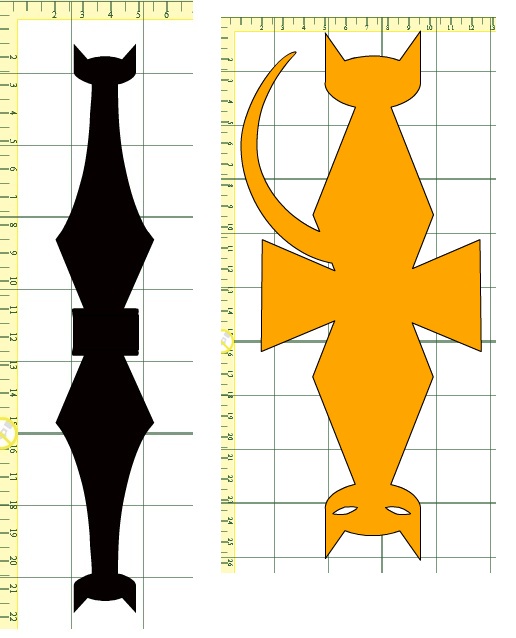
A scrappy friend {hi Cathy} made some adorable Halloween cat lollipop covers using the cat from A Frightful Affair and Craft Room Basics. She shared the file with me, but I don't have the A Frightful Affair cart. So I used the cat image I did have and made it into a Halloween Cat Treat Box. I used the cat from Movable Monsters, gem shape from Once Upon A Princess and shapes from Craft Room Basics for the base and sides. I hid the eyes in the cat image for the back of the box so it was solid.


I lined the eyes on the front with a scrap of orange cardstock and tied on an orange bow. It will hold two fun size candy bars.


Although I didn't use the lollipop cover file, I want to thank my scrappy friend for sharing it and for the inspiration! Her file {in black} and my file {in orange}:


Saturday, October 20, 2012

Hanging Bat Treat Cone

Welcome to the last stop on the Halloween Blog Hop hosted by Yolanda at http://craftyscentiments.blogspot.com/. You should have arrived at my blog from Amy at http://www.clearlystamping.blogspot.com/. If you didn't and want to start at the beginning of the hop, head to Yolanda's blog. Not only will you find lots of great Halloween projects created for you by 15 talented bloggers, but you'll find some blog candy along the way! So let's finish this hop off!

My project for the hop is a cute little bat cone! 


I made this using 3D Party Cones and Paper Doll Dress Up. In CCR, I placed ovals from Craft Room Basics at the top of each section of the cone image from 3D Party Cones. When cut, this created the large curves across the top of the cone. I cut a bat image from PDDU and trimmed away the body, leaving just the wings. I attached the wings to the sides of the cone, punched a couple of holes and added the ribbon. A couple of googlie eyes and fangs from white cardstock scraps, and the bat was ready to fill with candy and hang on a door knob!

Thanks for hopping along with us and thanks for visiting my blog. Hope you enjoyed it and will visit again!

Happy Halloween! 
Sunday, October 7, 2012

Cube-O-Lanterns

Welcome to day 2 of the Falling for Halloween Blog Hop hosted by Maria! We have the same great line up of bloggers with more projects for you to enjoy! And don't forget the blog candy that Maria has on her blog! 

You should have arrived here from Michele's Blog. If you didn't and want to start at the beginning of the hop, go to Maria's Blog.


My project for today is Cube-O-Lanterns! 


I used the cube box from the Wrap It Up cartridge and some jack o'lantern faces from Pumpkin Carvings and Paper Doll Dress to make the Cube-O-Lanterns. Using CCR, I cut the cube at 2 inches and then sized layers for the sides of the cube. I positioned the faces on the cube, one of the base layers {black card stock} and one of the top layers {patterned paper}. When I assembled the cubes, I added a piece of vellum over the face on the cube and then added the other layers. You could fill these with candy or other small treats, but I put a battery operated tea light in each one. . .and my Cube-O-Lanterns came to life!


Your next stop on the hop is the talented Cindy at In Love With Paper. Thanks for visiting!

Saturday, October 6, 2012

Witch Shoe with Cookies!

Welcome to the two day Falling for Halloween Blog Hop! Thanks for joining us to enjoy all the wonderful crafty inspiration for the Fall and Halloween season. You should have arrived here from Michele's blog. If you didn't and want to start at the beginning of the hop, go to Maria's blog and you won't miss any of the projects.

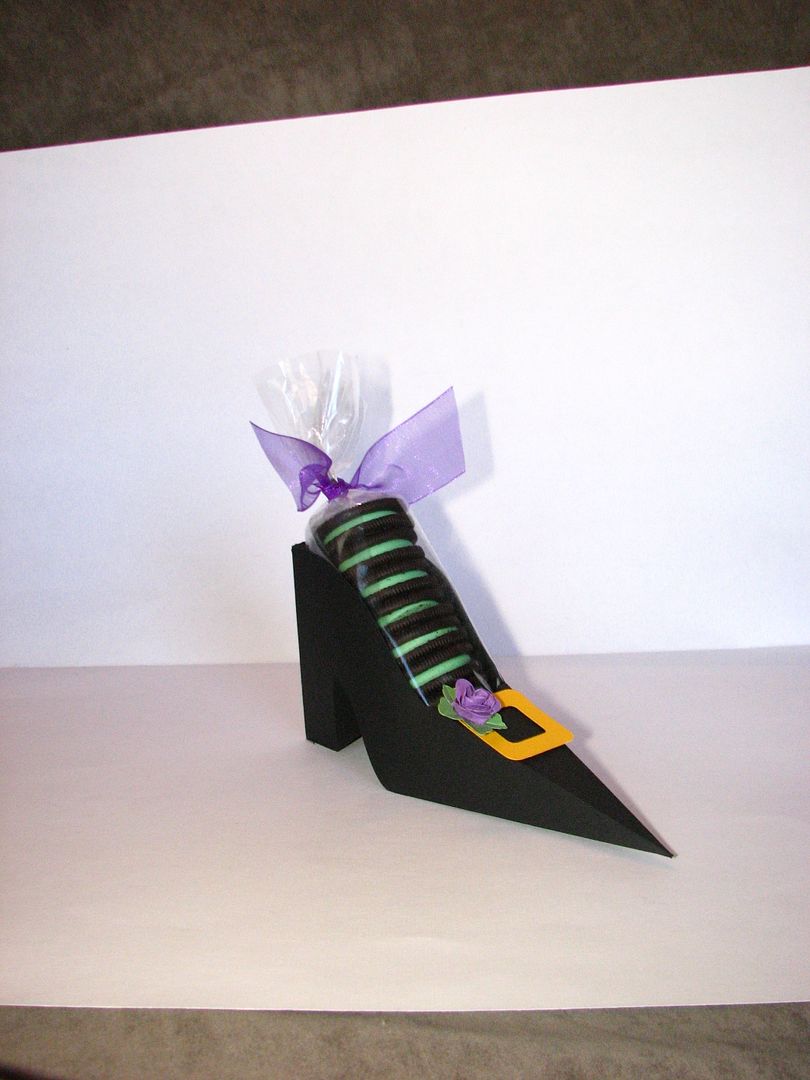
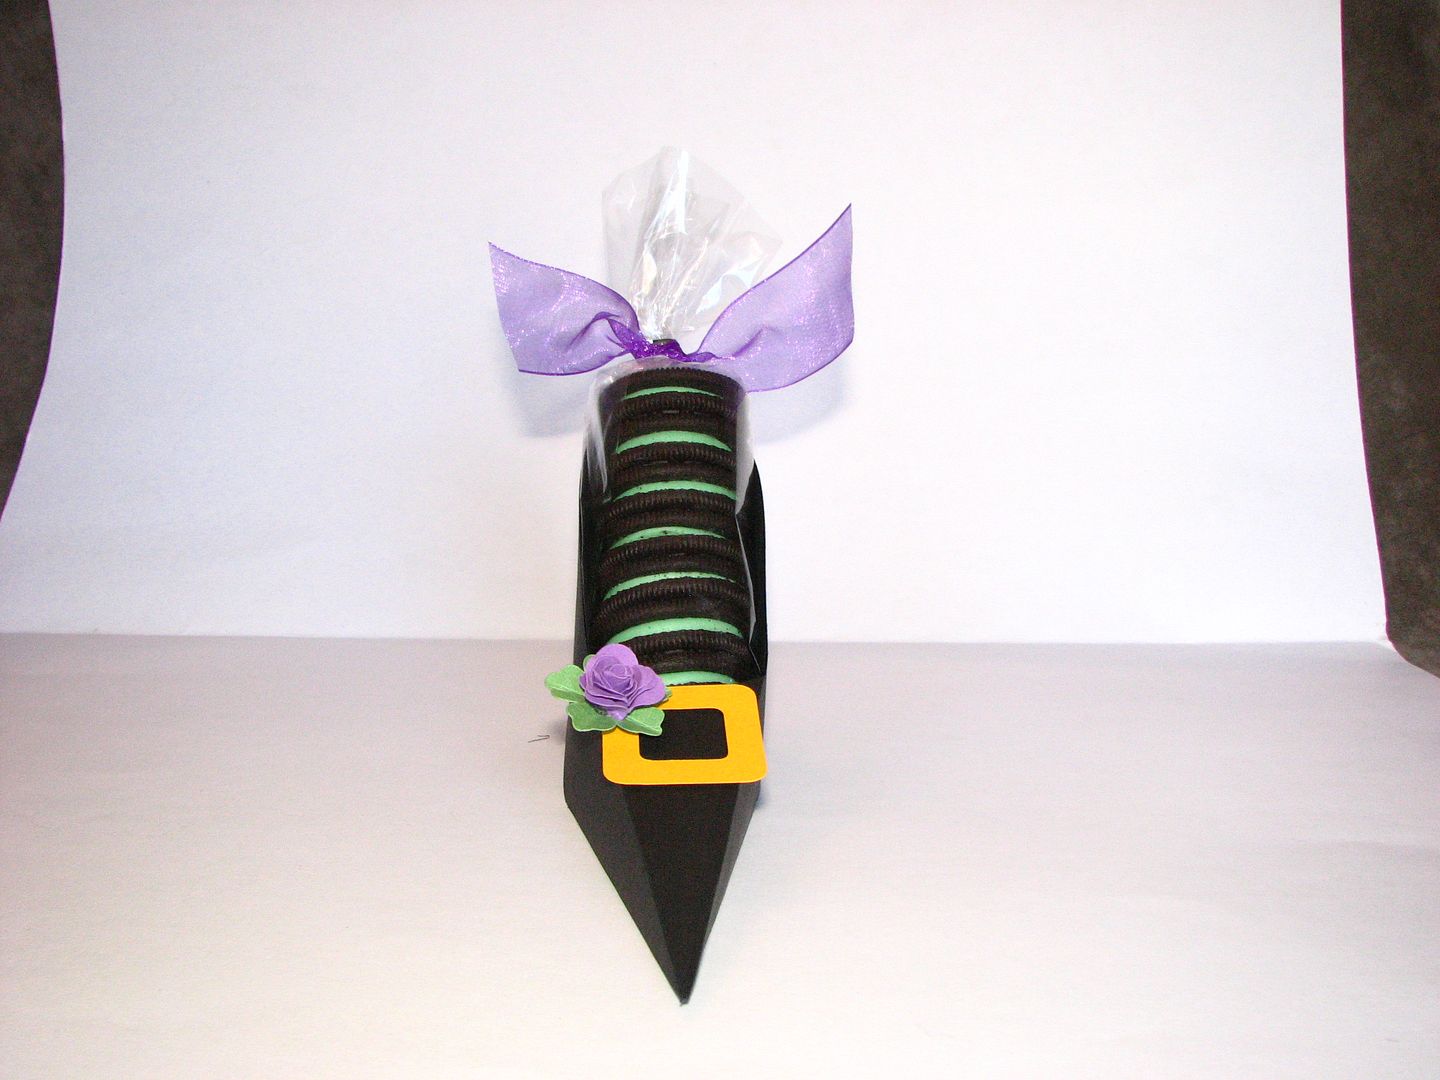
My project for today is an oldie but a goodie. And one that I get lots of requests for. So without further ado, here is a witch's shoe that I created in Design Studio using the princess shoe from the Princess Party cart and shapes from the George and Basic shapes cart. I simply welded some triangles to the toe portion of the shoe to make it pointy! I will be re-creating the file in Cricut Craft Room and sharing it soon.


I stacked green mint Oreos in a clear treat bag and tied it off with pretty purple ribbon and place them in the shoe. The flower is from the Flower Shope cart and the buckle is from George and Basic Shapes. I originally saw DoxieMel's creation and knew I had to make my own version. Thanks DoxieMel for the inspiration!

Thanks so much for joining in on the hop today. Please be sure to check out all the participant's wonderful projects. The next blog you will be visiting belongs to the very talented Cindy. If you should get lost along the way, go back to Maria's blog for the complete blog list.

Be sure to hop again tomorrow for a new project! Well, it's a Halloween version of one of my Mania projects! See you tomorrow!

Thursday, November 3, 2011

A Few More Halloween Projects

Here are a couple of Halloween projects I never posted.

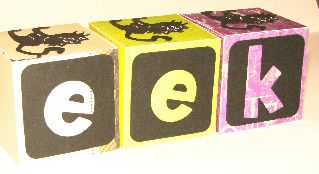
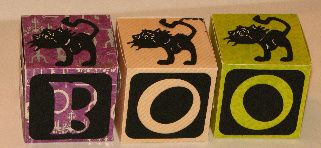
A set of decorative blocks {made from the file I created for the FALL set} with Halloween images/words on each side. My family had a lot of fun rearranging these!


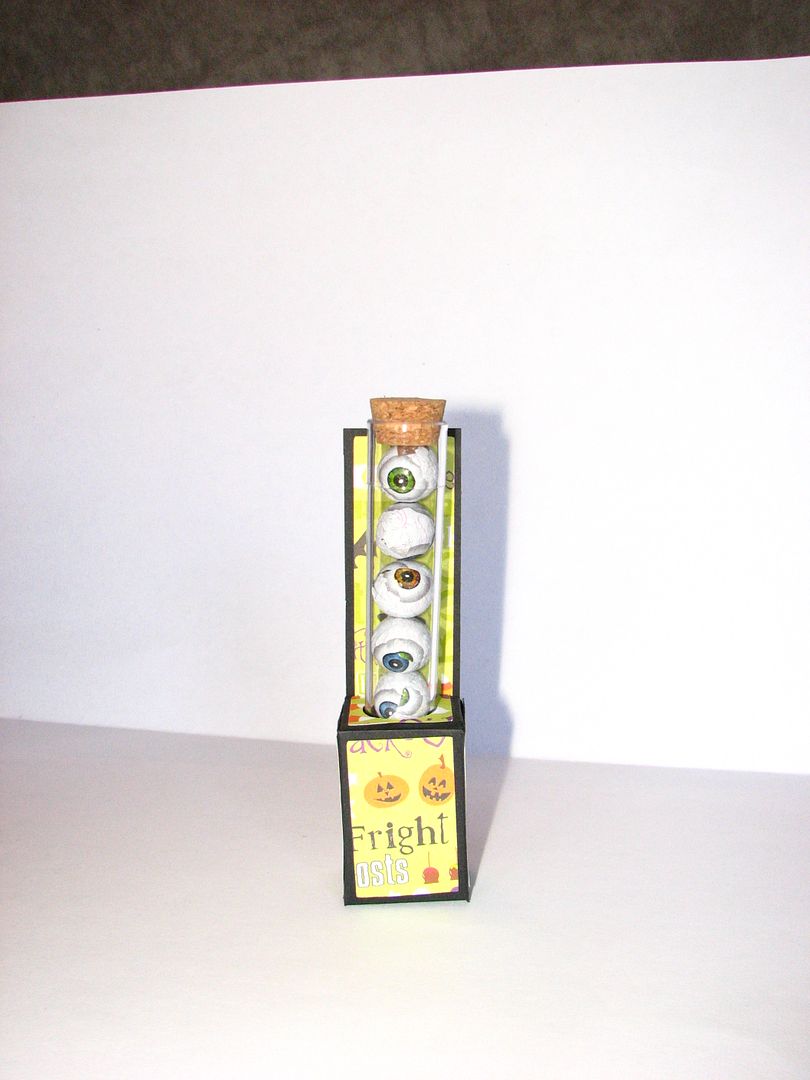
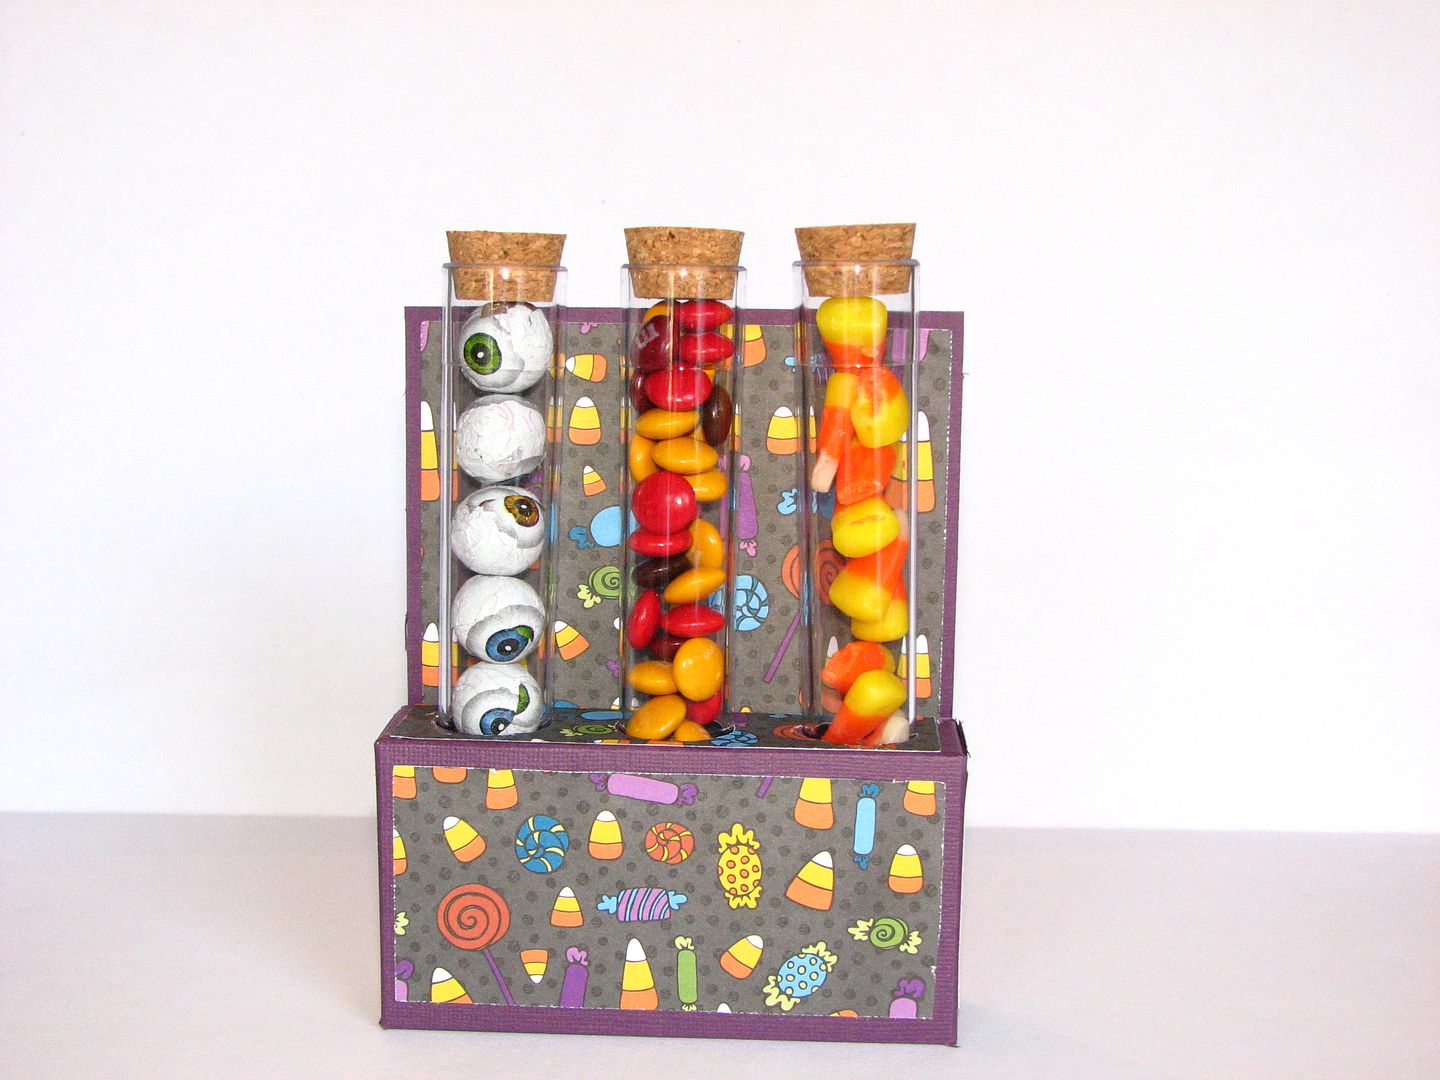
And a single and triple test tube candy holder! Even the teenagers were impressed with these!


Be sure to come back on Saturday for the Winter/Christmas Blog Hop! I'll have a couple of new projects to share.

Sunday, October 30, 2011

Ribbon Bat

Here is an invitation (party info is on the back) for a Halloween party with a cute little ribbon bat. To make the bat, you punch 2 holes close together and thread the ribbon through them, cross it in the back and back through the holes to the front. Then just add some googly eyes!

Friday, October 28, 2011

Quick and Easy for Halloween

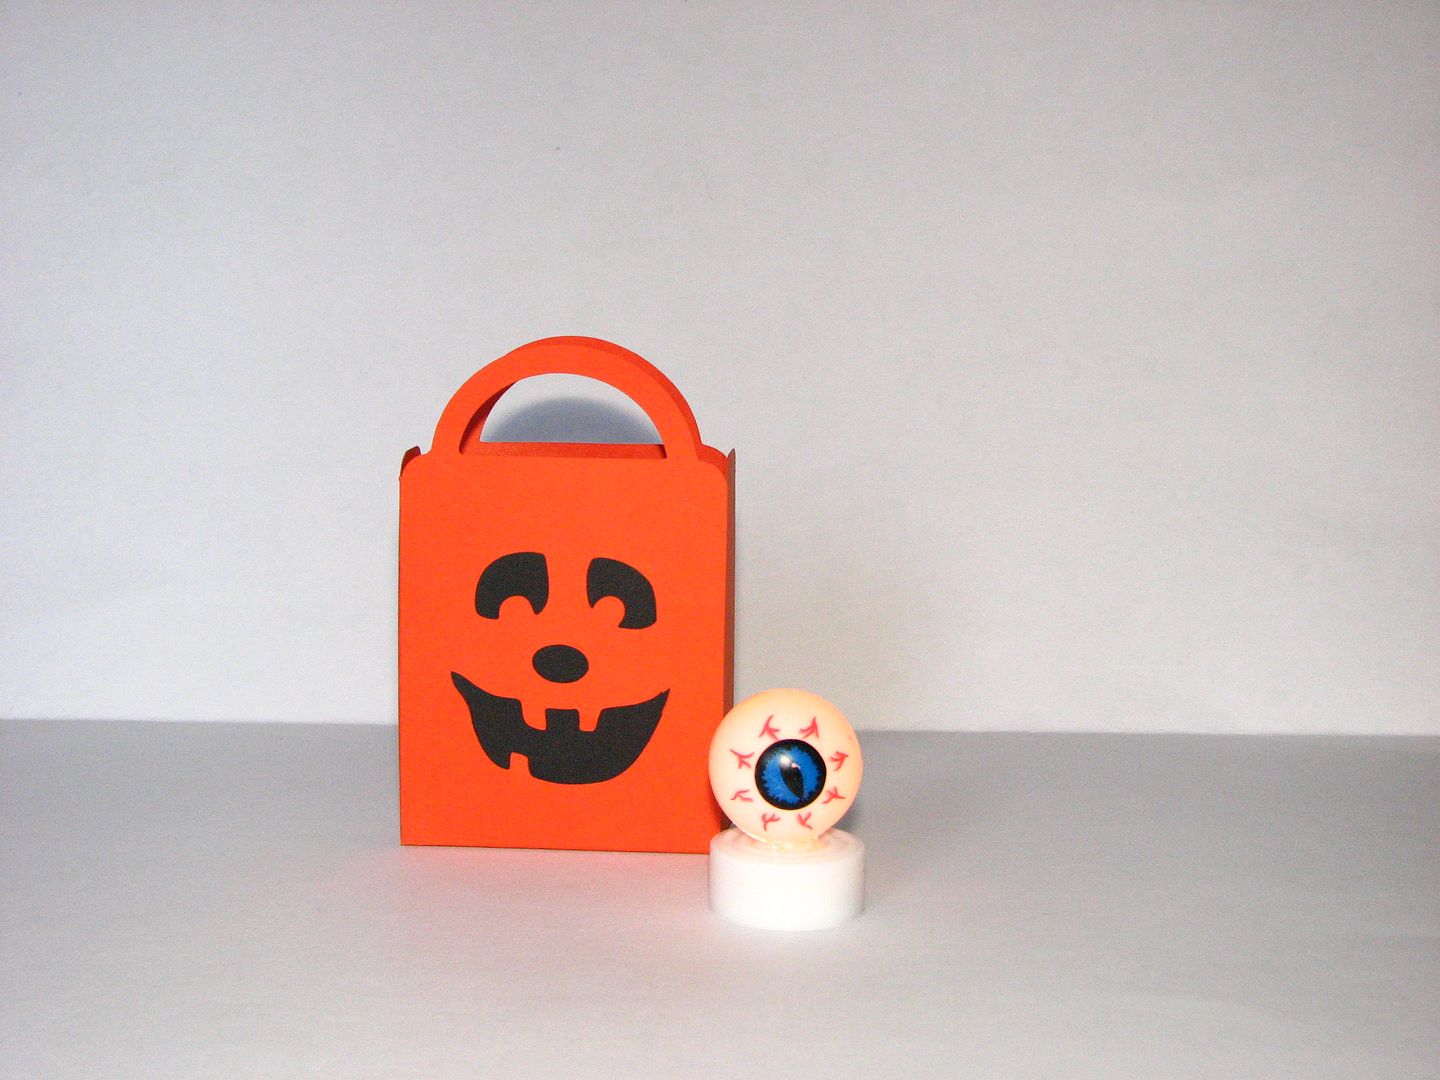
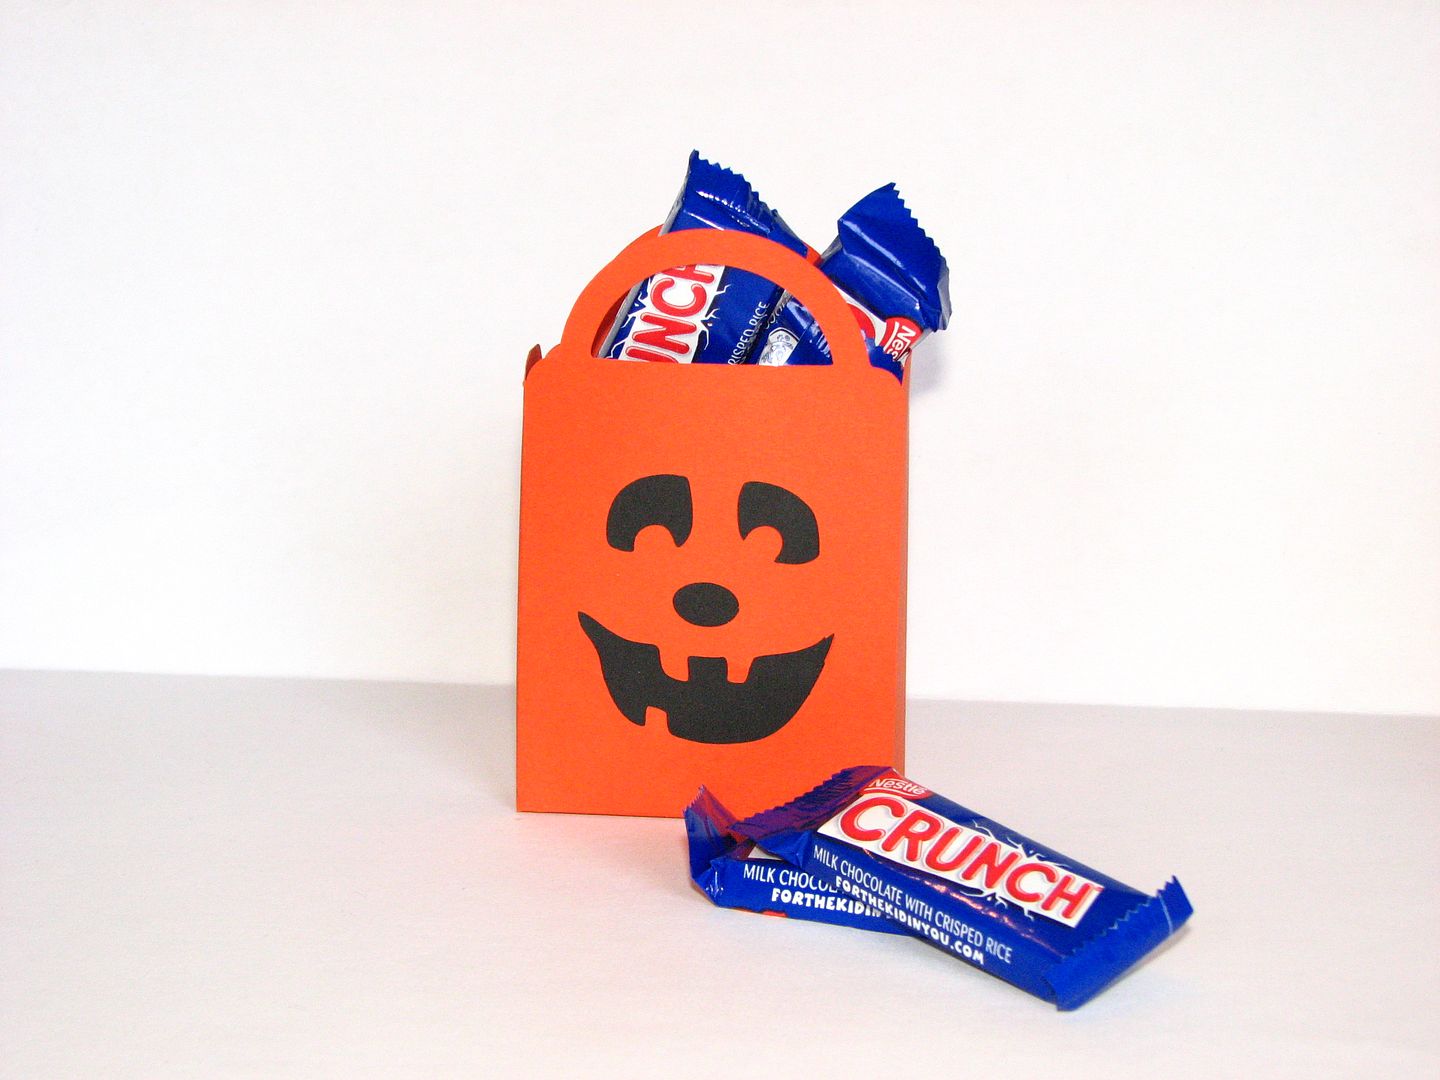
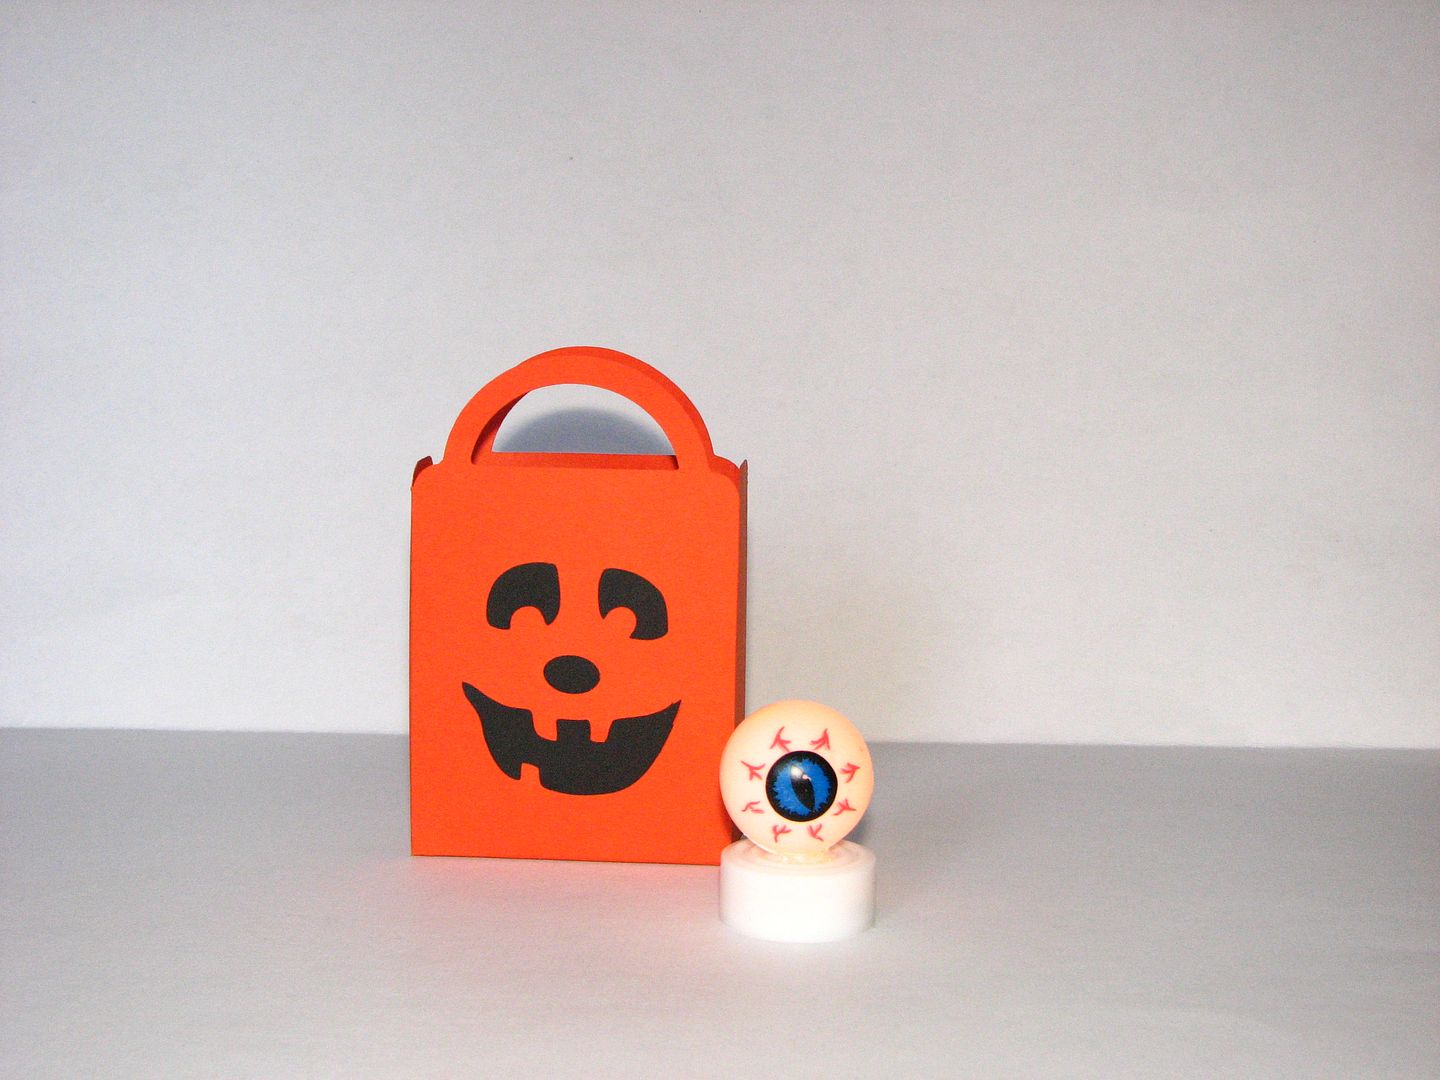
I used Plantin Schoolbook and Pumpkin Carvings to make the treat bag.


And it holds quit a bit of candy.


The lighted eyeball is a project from a back issue of Family Fun. It's a ping pong ball with a hole in the bottom and placed over a batter operated tea light. Add vinyl cutouts for the eyeball.

Thursday, October 27, 2011

My Cricut "Bughead" Organizer

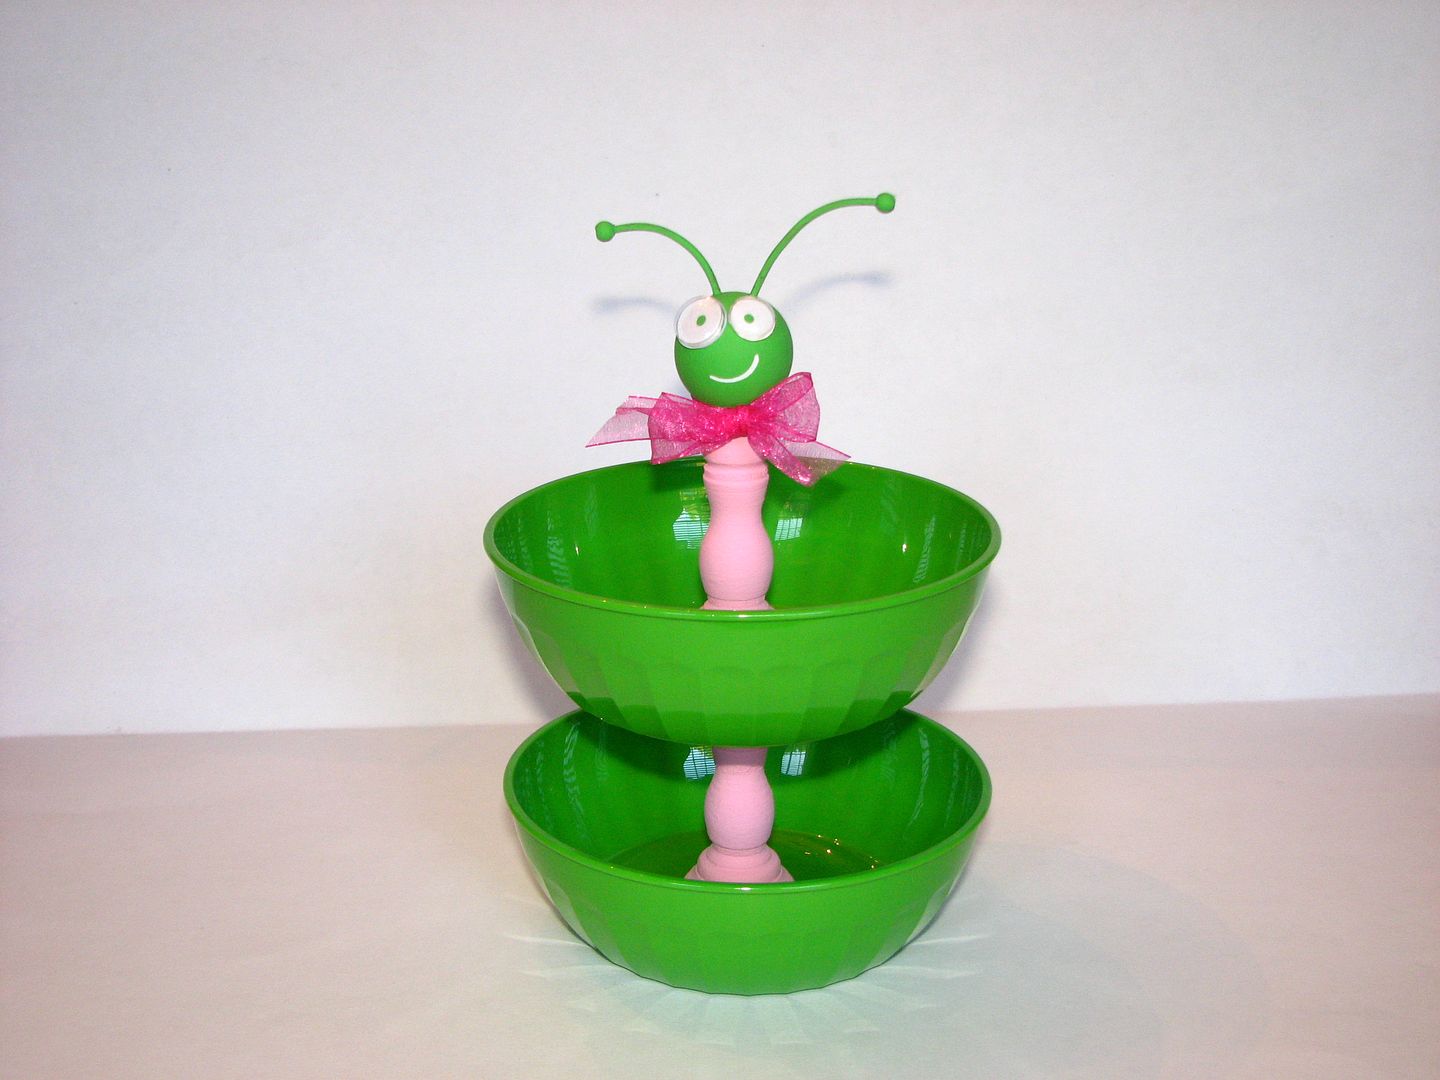
What to do with all those Cricut markers and extra blades? Keep them in a Cricut Bughead Organizer! This one is made from 2 bowls, 2 small wood candle holders, a wood bead, some wire, 2 small wood beads and some customized googly eyes!


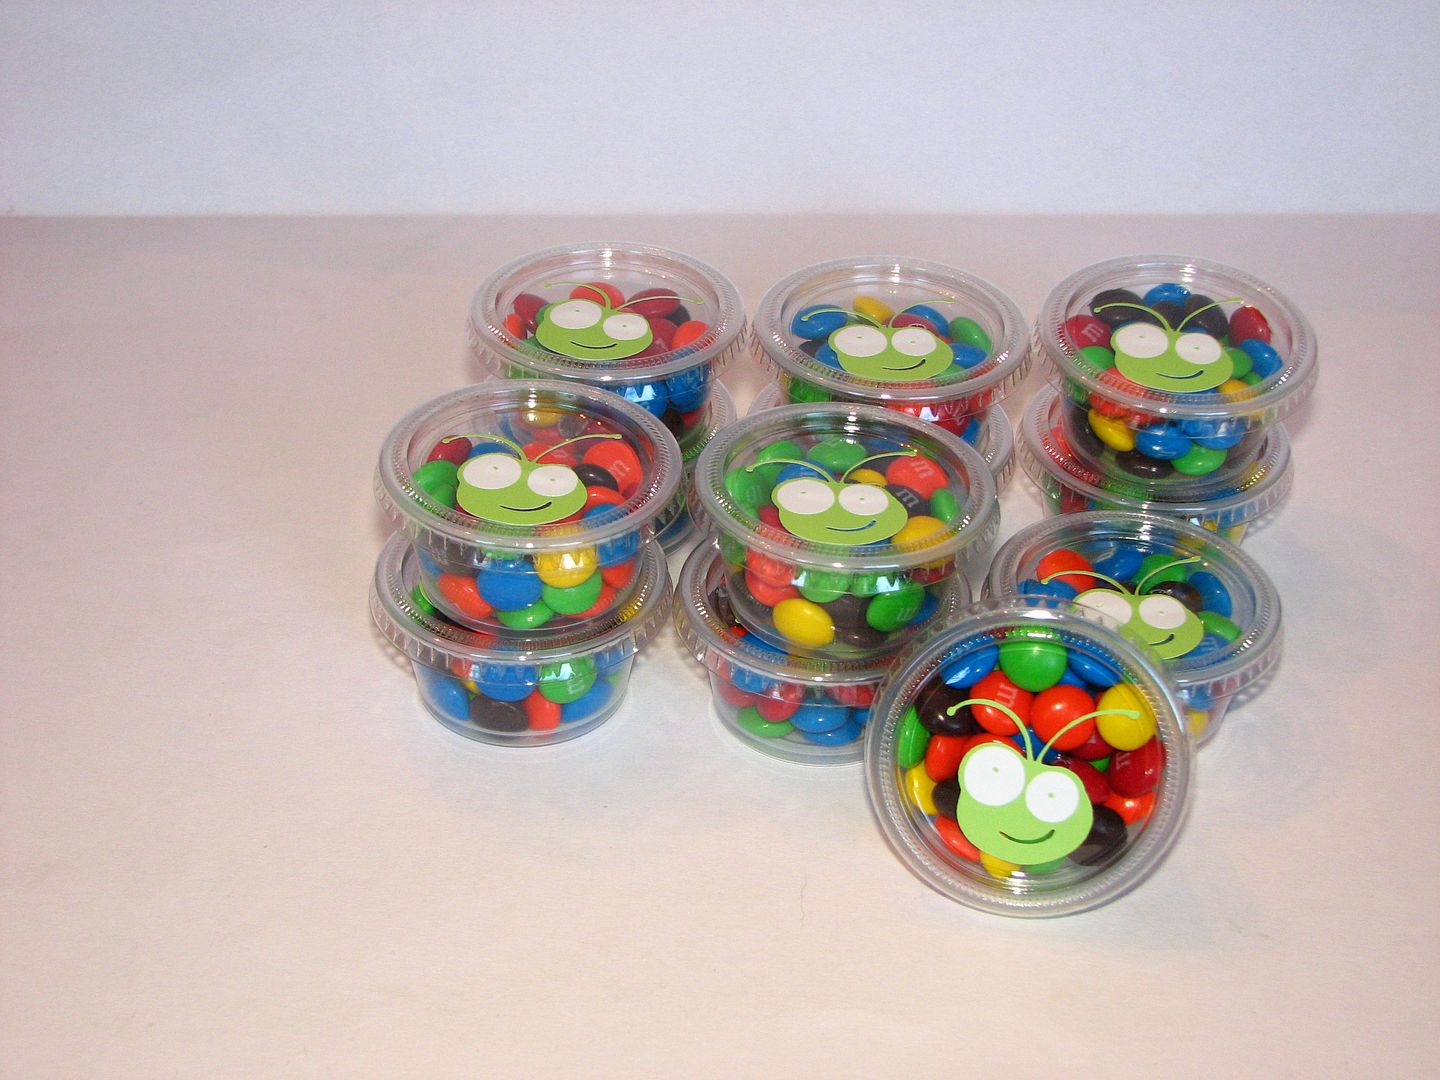
I made one for a Hostess Gift for my friend Stephanie when she hosted the most awesome Woodstock SWARM. I also made these little treat containers for all the Cricuteers who came over to my crop area on Saturday morning. They are those plastic condiment cups with bugheads cut from Cricut green vinyl and filled with M&Ms.


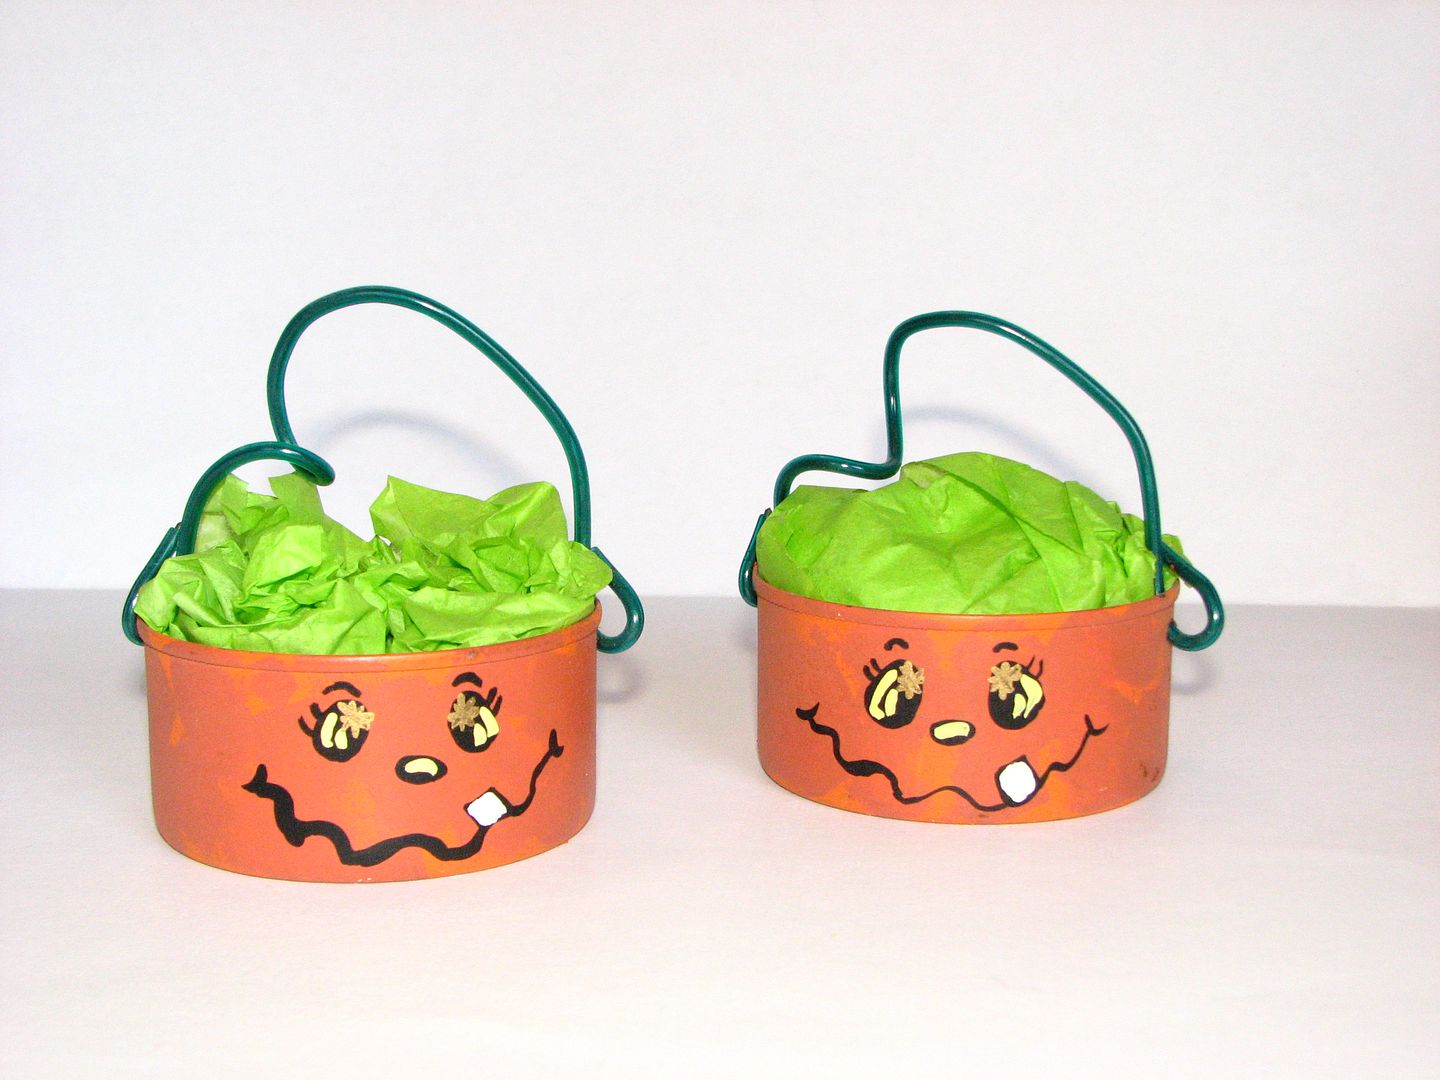
While looking through some old supplies for some wire for the bughead antenna , I came across these cans that I painted for a craft fair  quite a few years ago. They are empty pineapple cans and I used acrylic craft paint. My father-in-law named them "Pump-Cans"!


Pin It

Witch Shoe

After seeing a witch shoe that Doxie Mel had posted for a challenge on the Cricut Circle blog, I knew I needed to make something similar for my daughter and her college roommates. So, using the Princess Party cart and Design Studio, I added some shapes from George and make the Princess shoe a Witch shoe.


I used mint Oreos to fill them and needless to say, the my daughter loved them and can't wait to give them to her friends! Thanks Doxie Mel for the inspiration!  :)

Pin It

Monday, September 19, 2011

Halloween Bucket


It's that time of year when people are starting to think of Halloween. I've recently received a few questions about the Halloween Bucket I made a few years ago that is in the Project Gallery. The images on the sticks are from Paper Doll Dress Up. I cut two of each image and glued them together around the edges of the side and top. Then, I painted tiny dowels orange, cut them to size and slide the image on. The bucket is a plastic witches cauldron filled with candy. The title, Happy Halloween, is a font that was cut with a Wishblade.

Sunday, April 17, 2011

Some older projects added to my Project Gallery

I found some photos from last year and have added them to the Project Gallery.

Paper Cone Carrots

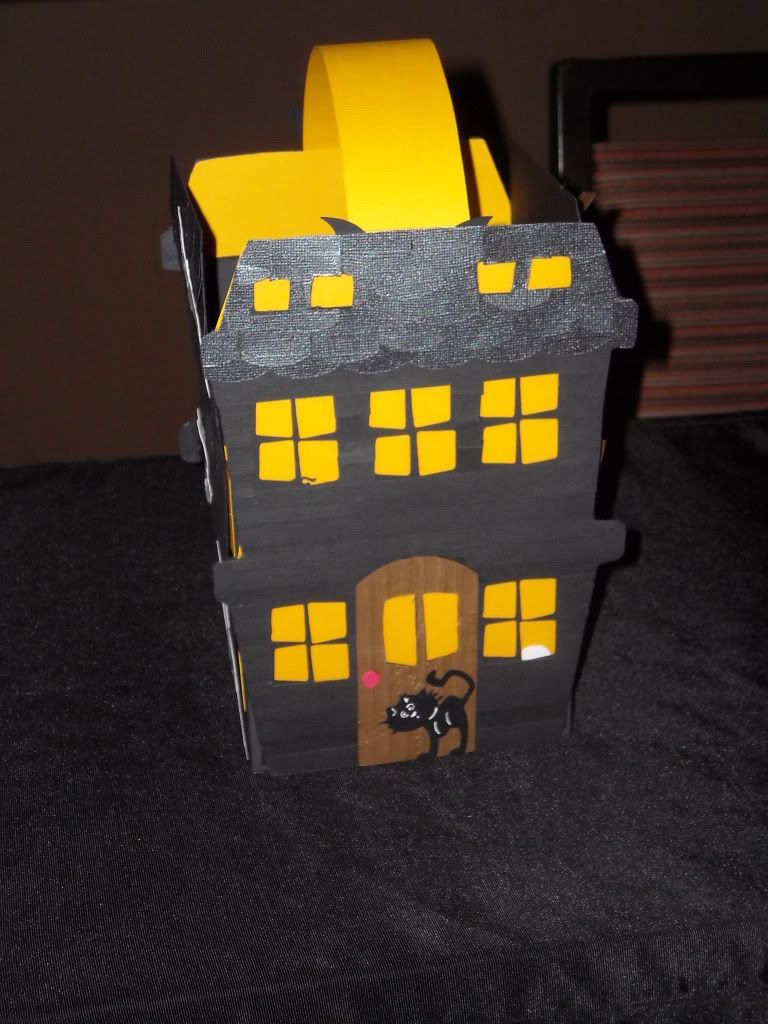
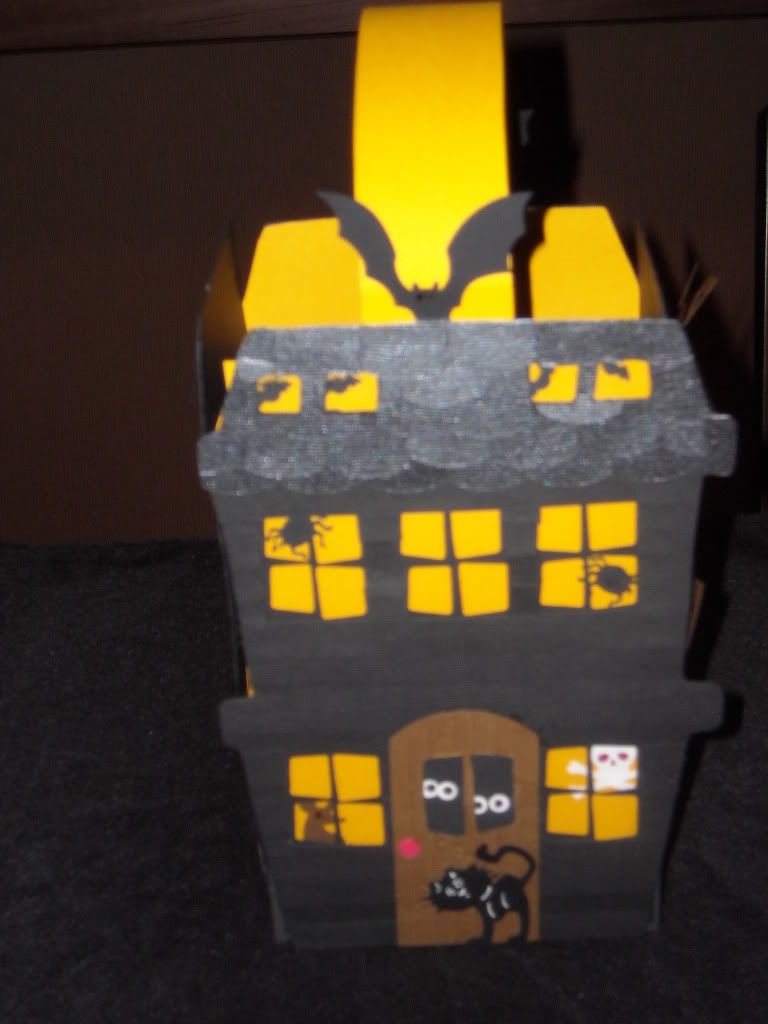
Halloween Treat Box with Slider Handle


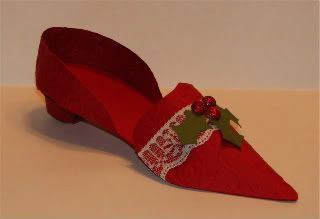
Christmas Paper Shoe