Showing posts with label Disney. Show all posts

Friday, December 6, 2013

A Disney Mini Mini Album!

A while back, I made a little mini mini album for a friend who had her first grandchild {you can see it HERE} so she could easily carry pictures of her beautiful grandson with her. Since I had designed that file in CCR, I decided to "tweak" it a bit and make a Disney version for a friend headed to Disney World!

This is the front cover. It opens at the bottom and is held closed with a velcro dot. It's approximately 3 x 3 inches. I used the Mickey Font cart.


This is what you see when you open the "ears" and flip the first section up.

Flip the middle section up to show all 3 photo or journaling spots.

And then each section flips open to reveal another photo/journaling spot as well as a pocket that has a removable square, again for photos/journaling.

I also cut a few Mickey heads and hands. I didn't adhere them because my friend is quite creative herself and can choose to use them or some other embellishments.

And, because the back was just plain black cardstock, I added this image! After all, who doesn't love Disney?

I sure hope she has some super special pictures and memories to add to this little Disney Mini Mini Album!

Wednesday, December 4, 2013

Another Disney Planner Folder

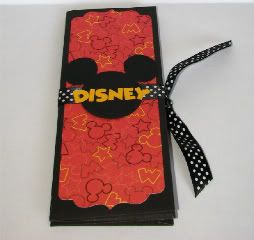
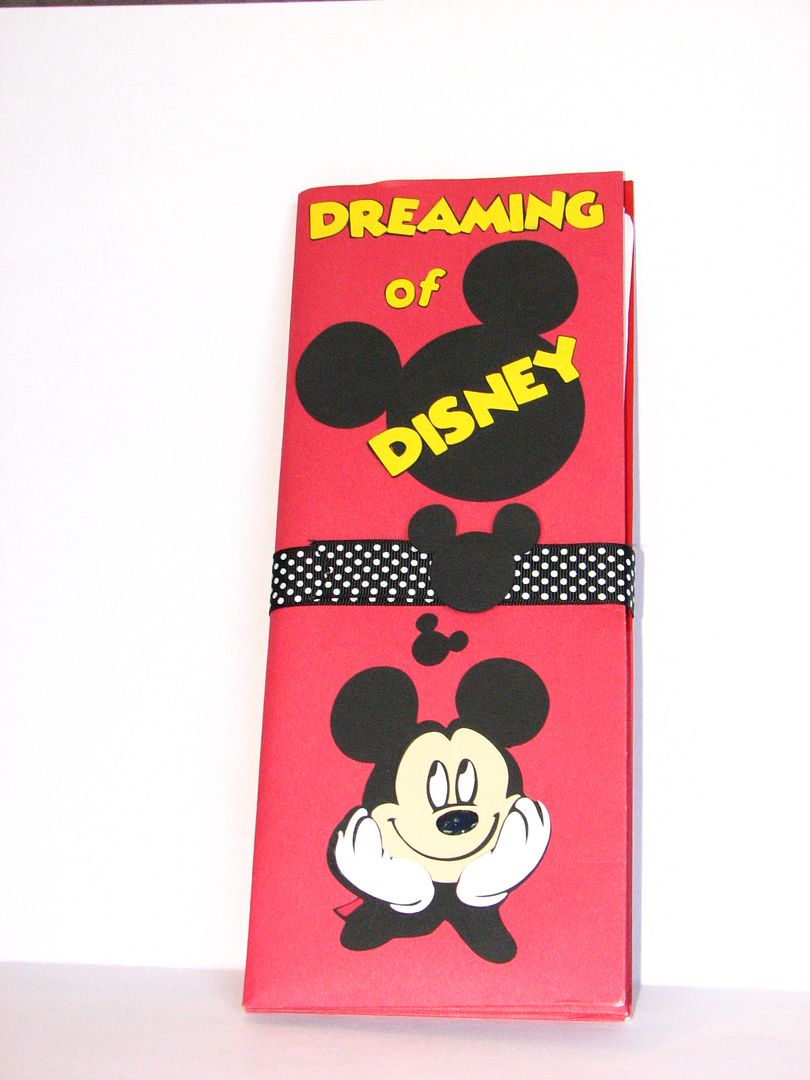
Seems everyone I know is going to Disney World. And without me! So not fair! :) But I still created this Disney Planner for my friend using a pocket folder from Staples. I've made a couple of them before {you can see them HERE}. It was so cool that Staples had "twisted" folders with one color on the outside and another color on the inside and they happened to have a red and yellow combo!


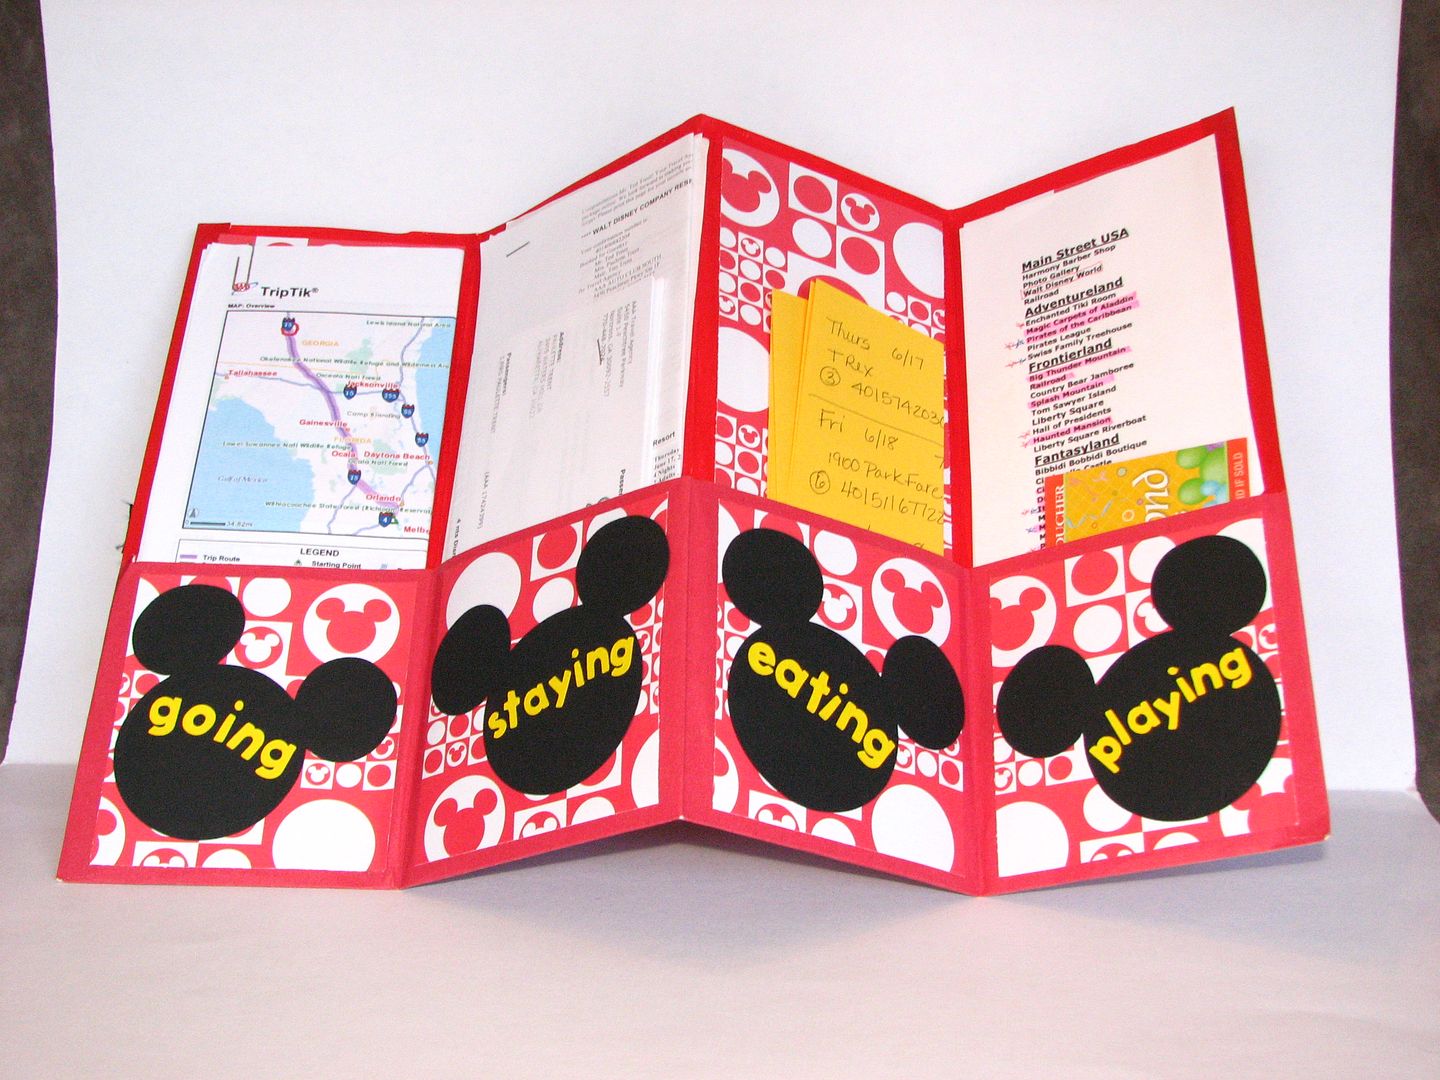
All you do is fold each side to the middle fold and then make it fold accordian style. The ribbon is only attached to the front cover and wraps around the back and ties to keep the folder closed.


Then all I had to do was add some Disney themed paper and some cuts from the Cricut Mickey Font cart! I made little divider pages for each section so she can separate the different pieces of info in that section or she can add photos and journaling and use it as a keepsake of her trip.

The person getting this one, hasn't gotten it yet {hopefully by tomorrow} but I sure hope she likes it! And I wish her the most magical of trips!

Monday, December 2, 2013

Just add Minnie!

What do you do when you're at Joann's and you come across a plain red and white polka dot box?


You buy it, take it home, go straight to your Cricut and just add Minnie Mouse! I used the Mickey and Friends cartridge and cut the layers in vinyl. I can't decide if I should add some words. . .like Minnie Mouse or Disney Memories.


But, even without words, the plain Jane box is now a great Disney Keepsake Box!

Sunday, December 1, 2013

Countdown To Disney Blocks

My sister and her daughter are planning a trip to Disney World and she wanted a "countdown" calendar. Here's what I created!  I used the 2 inch cube box from Tags, Bags, Boxes and More 2 and Mickey Font for the letters, numbers and holder.


I had planned to make her one using the same blocks I made for the perpetual calendar but her trip is more than 31 days away so I needed to use 3 blocks to get the right combination of numbers. To hide the 3rd block, I made a simple card stock sleeve to cover it.


I designed and sized everything in CCR, so cutting it all out was a breeze! I cut and scored the cubes and then glued all the background papers to them. Once I had folded them, I glued them closed.


Hope they have a great trip and enjoy counting down the days until they are at Disney World!

Saturday, September 21, 2013

Mickey Money or Mickey Memories


This was such an easy and  fun project! I saw a similar project on Dollar Crafts and knew right away I had to make one. . .or two. . .or more! So I had my husband finish off a jar of trail mix and found a Mickey Mouse figure.


You glue the Mickey Mouse figure to the top of your container and use spray paint formulated for  plastic to paint it black.


Then, I used vinyl and the Cricut Mickey Font cart to cut the words "Mickey Money". Viola ~ a super cute way to save those coins for a Disney trip!

But since we don't really save our loose change for Disney trips, I decided to change the words for the second jar to Mickey Memories for all those mementos that we always bring home from our trips. If I ever get scrapbooks made, these will go in the scrapbooks. But until then, they will be stored in the Mickey Memories jar!


Which do you prefer. . .Mickey Money or Mickey Memories?

Monday, August 26, 2013

Disney Journaling Cards

I used Mickey and Friends to make 3 x 4 journaling cards for a mini album. I cut my 3 x 4 pieces of patterned paper and then used my Corner Chomper to round the corners. These were easy peasey to make and will be such fun to use!


And this "When Pigs Fly" is for my pig-loving friends on the Circle message board!

Monday, December 24, 2012

Disney in a Frame


My sister loves Disney. . .probably more than I do! She and her husband just recently returned from a trip to Disney World. While there, they took full advantage of the Disney photographers and photo pass. She has some great photos, so I decided to create a frame for her to showcase her favorite photo. I took a collage frame I purchased a Michael's and added some vinyl I cut with my Cricut and the Mickey and Friends cartridge and viola! A gift I almost didn't give!

The frame as purchased:


I used CCR to hide all the interior cuts of the images and applied the vinyl to the outside of the frames. I inserted colored card stock to each frame. I then made a simple phrase in white vinyl and applied it to a piece of black card stock to fill the center frame. I cut the words Disney World 2012 in the black vinyl and applied those to the outside of the frame. When she removes the black card stock and replaces it with her photo, the words Disney World 2012 will still show to commemorate their trip.


If she doesn't like it, I'll gladly take it back!  :)

Saturday, November 19, 2011

Mickey Treat Box

Hello and Welcome to the Me and Mickey's Birthday Blog Hop! You should have come to my blog from Rexann, the birthday girl. If you didn't and want to start at the beginning of the hop, head to Michele's Blog. Today we are celebrating Rexann's birthday (which is today) and Mickey Mouse's birthday (which was yesterday)!

So, HAPPY BIRTHDAY REXANN AND MICKEY!!!

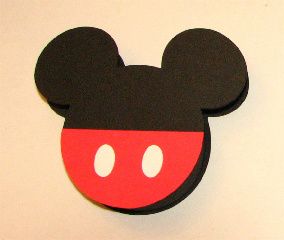
My project to help celebrate is a little Mickey Treat Box! I made this using the Mickey and Friends cart. It's cute enough as it is,


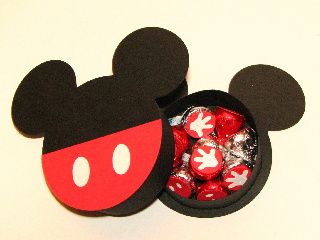
but it's even cuter when you open it and see the candy inside!


I cut 3/4 inch circles and the Mickey glove and glued them to Hershey's Kisses! Yummy!  And, once the candy is gone, you can fill the box with paper clips or Disney memorabilia or whatever you want! And, just so Mickey doesn't get lonely,


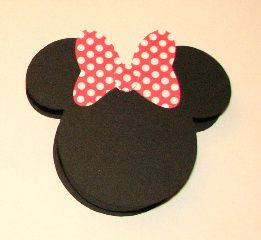
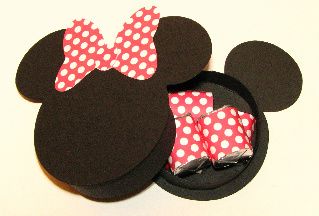
there's a Minnie Mouse box too! And, of course, her box is also filled with candy,


some "dressed up" Hershey's Nuggets!

I hope you have a wonderful birthday Rexann! The next stop on the hop is Laura. Before you go, become a follower of my blog (if you aren't already) and leave a comment telling of your favorite birthday memory and one lucky person will win an envelope filled with Disney embellishments and stickers! 

Thanks for stopping by!  :)

Pin It

Thursday, October 27, 2011

Coming out of Cybernation!

My poor, neglected blog is awakening! Although I haven't posted, I have been creating. So let's start by catching up!

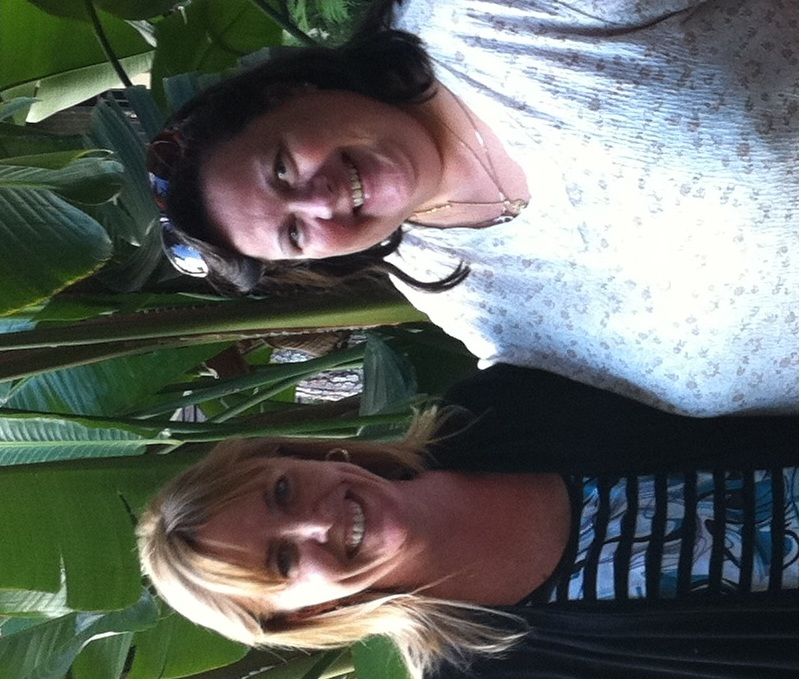
First, I took a trip to Orlando to meet a friend from the Cricut message board! Narelle and her family came to Orlando (from Australia) and I was so fortunate to be able to meet them. Narelle and her daughter and I spent a day shopping and chatting. They don't have Michael's Arts and Craft stores in Australia nor do they have Walmarts! I took them to both!  :)  Later that day, my sister and Narelle's husband and son joined us and we had dinner at the Rainforest Cafe in Downtown Disney. It was so much fun! Here's a picture of Narelle and me.


I had made a Disney themed travel planner using a 2-pocket folder and sent it over to her. I hope she found it useful as they had plane tickets and 3 different hotel reservation and bus tours and such to keep up with.


It was very similar to one I made for myself a few years ago. I had designed it using Design Studio but lost the file when my computer crashed. Fortunately, it was easy enough to re-create.


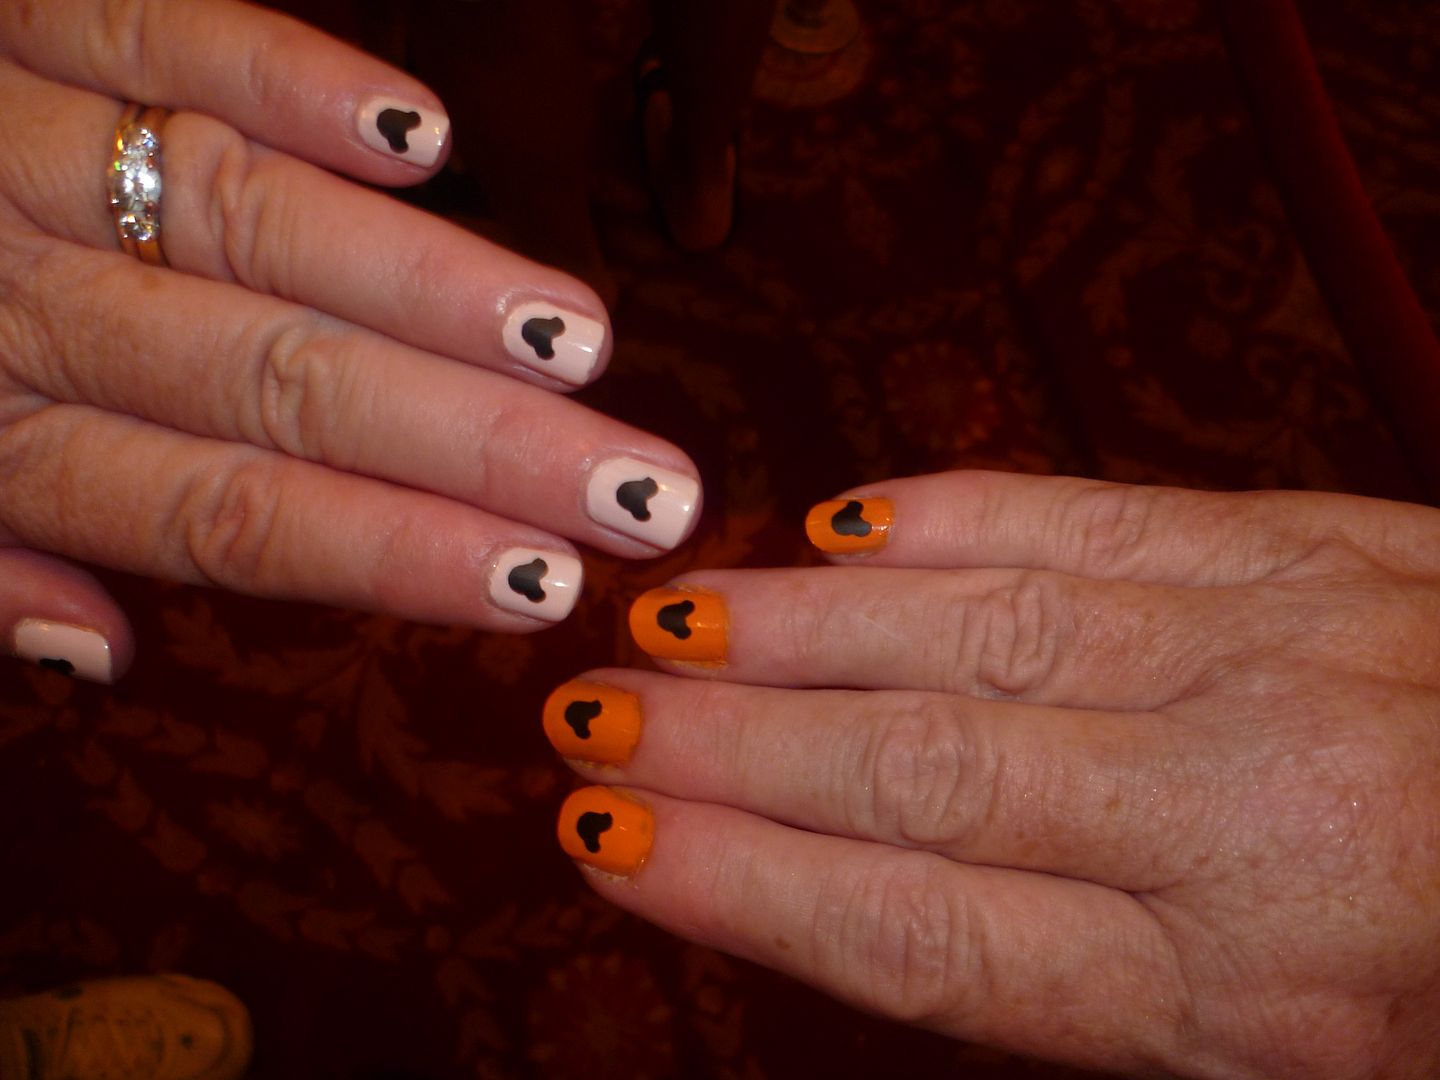
And, of course, you can't go to Orlando with going to visit Mickey Mouse. My sister and I went to Mickey's Not So Scary Halloween Party and I used my Cricut to cut little Mickey heads out of vinyl for our finger nails.


After dinner, I'll get some Halloween projects posted! So I hope you'll check back again!    :)